Several users reported encountering Windows error 0x80070001 when they update Windows. Some users also report experiencing the error when they back up files or folders using Windows Backup and Restore.
You may fix the Windows error 0x80070001 using special software, such as Outbyte PC Repair software, that repairs some Windows issues and tunes up your PC’s system settings to restore its stability.
In this article, you’ll get a detailed outline of the meaning, causes, and how to fix the Windows error 0x80070001.
What is Windows Error 0x80070001?
Error 0x80070001 is a Windows system error and a Windows Update error. If you encounter this error, it depicts a malfunction in your system. It occurs during:
- Windows download
- Windows installation
- Windows backup and restore
Depending on where and why error 0x80070001 occurs, you will receive different messages. For example, you may receive a message displaying “error 0x80070001 (Invalid Function)”, which occurs when you try to back up a particular library or when you accept the default settings in Windows Backup and Restore.
What Causes Windows Error 0x80070001?
The immediate cause of error 0x80070001 is failing to correctly run one or more Windows operations by an application or system component.
The other common reasons for the occurrence of error 0x80070001 include:
- Failed or incorrect installation or uninstallation of Windows software. This might have left invalid registry entries in the Windows registry.
- Malware or virus infection on your PC.
- Improper communication or miscommunication between the PC and the Windows automatic update service.
- Improper system shutdown, for instance, because of a power failure.
- Missing DLL system file or registry entry, for instance, when deleted unintentionally.
- Misconfigured or corrupt system files.
- Conflicts among the Windows installed apps.
- Installing infectious or corrupt apps or programs.
- Unstable internet connection.
How to Fix Windows Error 0x80070001
To fix Windows error 0x80070001, you may first need to understand the reason for its occurrence as explained in the previous section. You can use the following outlined solutions to fix the error and restore your computer’s stability.
Preliminary Workarounds
As mentioned earlier, some reasons for the occurrence of error code 0x80070001 are not technical, such as unstable internet or virus infection. You can solve these issues through the following workarounds:
- Tweak your internet router by switching it on and off or changing its physical location to get better reception and make the internet connection more stable.
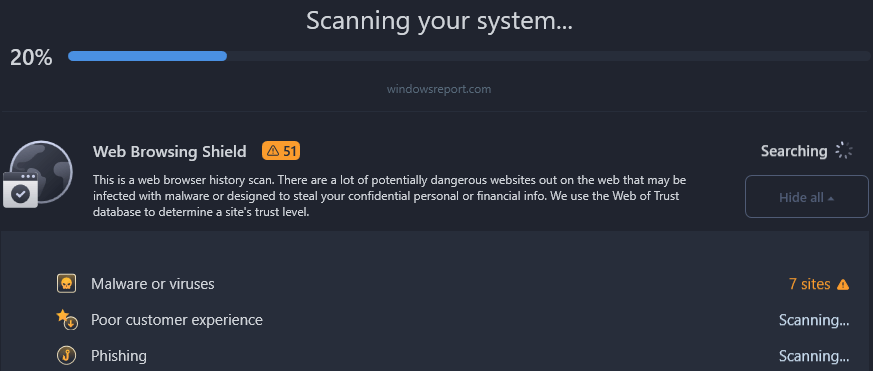
- Scan your computer using a quality Windows antivirus software to flush out the virus or malware that might have infiltrated your PC and caused error 0x80070001.
Fix #1: Clean the Windows Update Cache
The Windows Update cache might be full or could have temporary registry files because of failed or incorrect installation or uninstallation, causing error 0x80070001.
To clean the Windows Update cache:
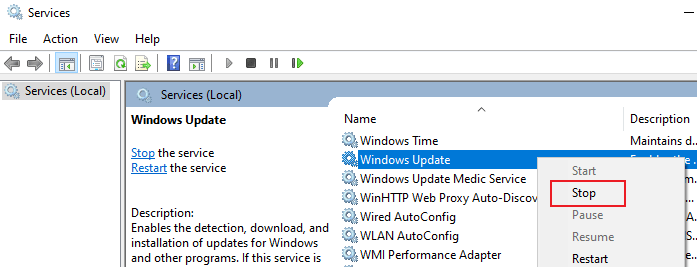
- Stop Windows Update
a. Click Start and typeservices.msc.
b. When the Services app appears, click “Run as administrator”.
c. On the list of Windows services, locate Windows Update.
d. Right-click Windows Update then click Stop.
- Clear Windows cache
a. Press Win+ R keys simultaneously to open a Run dialog.
b. In the Run dialog, type%windir%\SoftwareDistribution\DataStoreand click OK to open Windows Update’s download folder.
c. Delete all contents of the Windows download folder. (Hint: Use Ctrl + A to select all files and folders.)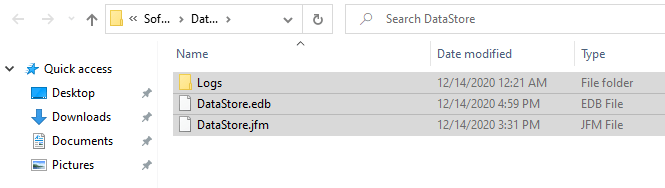
- Restart Windows Update
a. Go to Windows Services.
b. Locate the Windows Update service.
c. Right-click on Windows Update and choose Start.
Once done, you’ll need to restart your PC and check if you are still encountering error 0x80070001.
Fix #2: Reset Windows Update Components
One of the main causes of error 0x80070001 is corrupted system files, especially when they’re contained in the Windows Update folder. This will need you to clear and reset the Windows Update components to fix the problem.
- Open the Windows Command Prompt.
a. Press Win + S keys, and typecmd.
b. Under Command Prompt, click “Run as administrator” to open an elevated Command Prompt.
c. Click YES when prompted by the UAC.
- Rename the Software Distribution and the Catroot2 folder backup copies—type (or copy-paste) the following commands and press Enter after you type each command:
ren C:\Windows\SoftwareDistribution SoftwareDistribution.old
ren C:\Windows\System32\catroot2 Catroot2.old

- Reset Winsock
Typenetsh winsockreset in the Command Prompt window.
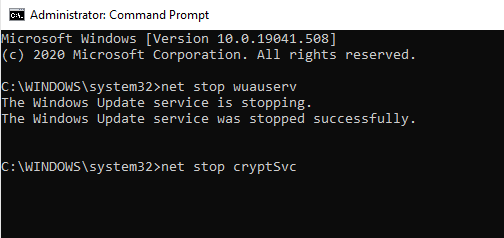
Press Enter. - Restart the Windows Update services you stopped earlier. Type (or copy-paste) the following commands and hit Enter after each command:
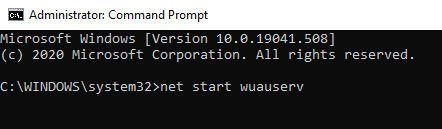
net start wuauserv
net start cryptSvc
net start bits
net start msiserver
- Exit Command Prompt
TypeExitto close Command Prompt.
After completing everything, reboot your computer. This process should fix the problem and make your Windows function normally. These commands are useful to solve many other Windows update issues: 0x80070020 error, 0x8024001e error. Error code 0x80070017 can be also fixed this way.
Fix #3: Clean Windows Update download path
Note: This solution is only for experienced users. If you’re not experienced, you may end up losing all your files.
- Press Win + R Keys to open Run.
- Type
regeditand hit Enter. - Navigate to the following path in Registry Editor:
HKEY_LOCAL_MACHINE\SOFTWARE\Policies\Microsoft\Windows\WindowsUpdate
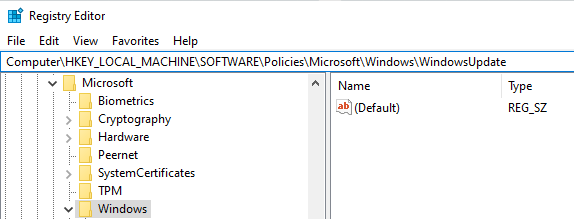
- When you find it, check the right pane and locate WUServer and WIStatusServer.
- Once you locate them, delete both.
- Now, restart your computer. If the problem persists, run the System File Checker.
Fix #4: Run an SFC scan
The SFC is a handy tool that will automatically check your computer’s file systems, identify the errors and fix them automatically.
- Open Windows Search and type
cmd. - Click “Run as administrator”.
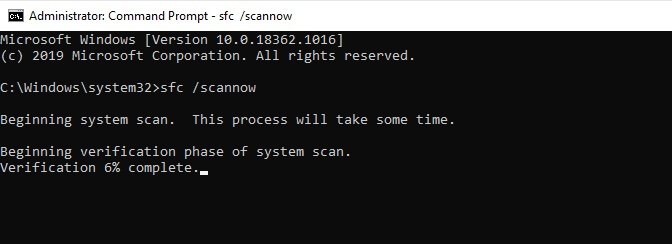
- In the elevated Command Prompt, type
sfc /scannowand press Enter.
Allow the process to run to completion because it may take a few minutes. As soon as the SFC scan is complete, restart your computer and try to search for updates.
Wrapping Up
We believe that the solutions provided in this article will help you fix Windows error 0x80070001 and enable you to install your Windows update successfully. If you’re still facing this issue, then your computer should be checked by a professional.