Have you encountered the Windows Installer Error 0xc8000222 while trying to update your computer? This issue has been a concern to many Windows users.
If you see the “installer encountered an Error 0xC8000222” notification, you were likely trying to install specific Windows Updates or the Windows Update System Readiness Tool.
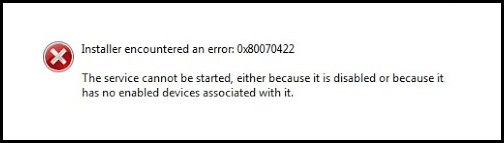
Here’s a classic user example of the Installer Error 0xc8000222:
“When I run Windows6.1-KB982018-v3-x64.msu, it immediately fails with error 0xc8000222.”
This user was trying to update a specific Windows Update – kb/982018 – before being prompted with the error message. In most cases, when this Windows Update error occurs, an error window will pop up and prompt the user with the following messages:
“Go for Windows Update.”
“Send a problem report to Windows using its error reporting service.”
“Windows could not search for new updates.”
“Installer encountered an error 0xc8000222”
Important!
The error 0xc8000222 can be result of Windows misconfiguration, junk files and system file conflicts. You can optimize your Windows performance automatically, using a quality PC Repair software. You can download it here.
Why Does the Windows Installer Error 0xc8000222 Happen?
The most common cause of the Windows Installer Error 0xc8000222 is broken or corrupt Windows system files. This causes the needed information for the proper functioning of the important Windows files, programs, and applications to be unavailable, which results in the Windows Update error code.
Other causes of the Windows Installer Error 0xc8000222 include:
- Improper system shutdown
- Hardware malfunction
- Malware or virus attack of the system
- Corrupted shared library files
- Deleted or corruption of file registry entries
- Incomplete installation or uninstallation or a program or application
- Misconfiguration of Windows Update system
- Corrupt or incomplete downloaded files cache
Note: These causes that we’ve listed here are the most common, as reported by many users. There might be other possible causes that are not listed here.
Fix the Windows Installer Error 0xc8000222
The following solutions will help you get rid of the Windows Installer Error 0xc8000222 so that you can continue with your Windows Update process.
Note: Most of these solutions will require you to use the elevated Command Prompt (or Command Prompt admin). This means you will need to open the Command Prompt as an administrator and allow the User Account Control (UAC) if prompted.
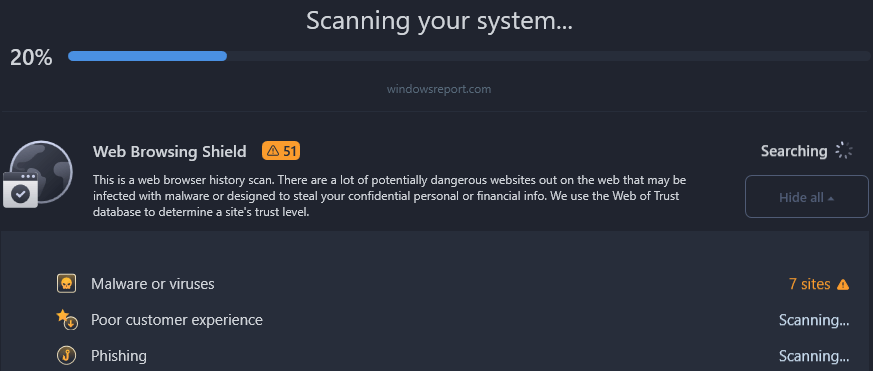
Scan Your System with a Quality Antimalware
When you see the ‘installer encountered an Error 0xc8000222’ notification, you shouldn’t rule out a virus or malware infection. This problem is known to cause many unexpected errors in the Windows operating system. Scanning your system with a quality antimalware software can help flush out the malware or viruses and restore your PC to its normal function.
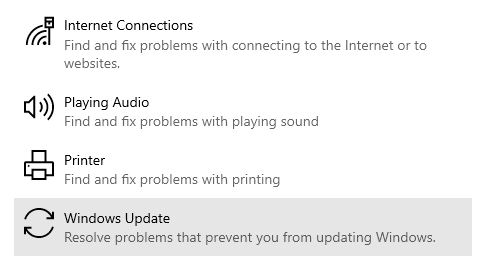
Run the Windows Update Troubleshooter
When you encounter any Windows Update error, the Windows Update Troubleshooter should be your first troubleshooting solution to scan, identify, and repair damaged Windows Update components.
To run the Windows Update Troubleshooter:
- Press Win + S keys.
- On the search bar, type
troubleshooter - Click Troubleshooting.
- From the list of Troubleshoot computer problems, select Windows Update.

- Follow the on-screen instruction to let the Windows Update Troubleshoot run.
- After completion, restart your PC to save changes.
Temporarily Disable Third-Party Antivirus or Firewall
Some antivirus or antimalware software can be sensitive and cause unnecessary PC errors. Depending on your computer’s third-party antivirus program, follow the manufacturer’s instructions to disable it until you’re done with the Windows Update that you’re running.
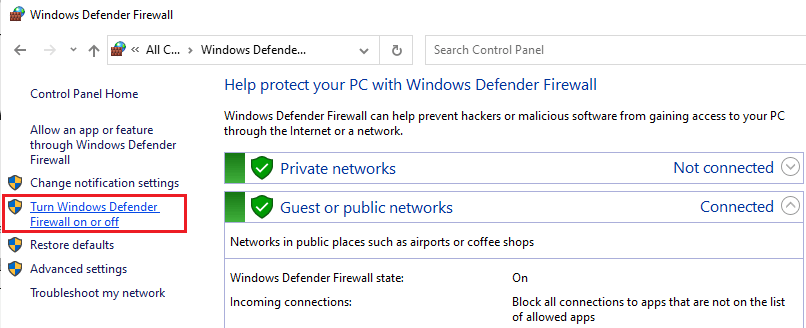
You can also consider disabling your PC’s firewall using the following steps:
- Open Windows search, then type
control panel. - Open the Control Panel, the select System and Security.
- Click Windows Defender Firewall.
- Click on Turn Windows Defender Firewall On or Off.
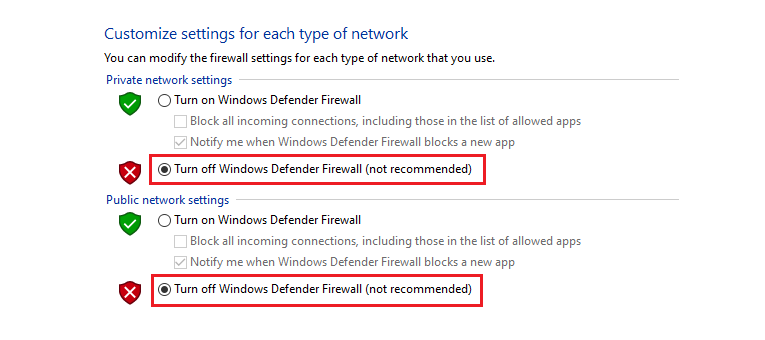
- Now, select the Disable option for both the radio button.
Run System File Checker and CHKDSK
- Right-click Windows Start, then select Command Prompt (Admin).
- In the Command Prompt, type
sfc/ scannow(no quotes). Press Enter to run the command.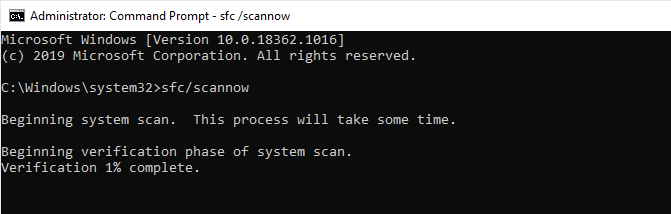
- Again, input this command in the Command Prompt, then press Enter:
sfc /scannow /offbootdir=c:\ /offwindir=c:\windows - Scanning the system will begin automatically. Wait for the process to complete (it can take a few minutes).
If the SFC scan finds any problem, it will repair it automatically. Once done, restart the PC and check if the Windows Update error has been resolved.
Run DISM to Fix The Error 0xc8000222
If the SFC scan fails to yield positive information, try the DISM scan.
- If the SFC scan fails to yield positive information, try the DISM scan.
- Press Win + X keys > Select Command Prompt (Admin)
- Type the following commands in the cmd and press Enter after every command:
Dism /Online /Cleanup-Image /CheckHealth
Dism /Online /Cleanup-Image /ScanHealth
Dism /Online /Cleanup-Image /RestoreHealth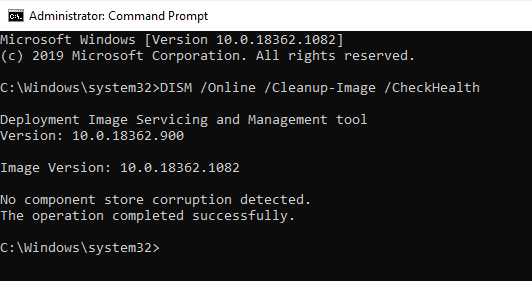
- Let the DISM commands run to completion. It might take some time, so be patient.
- If the above commands don’t find anything to fix, type (copy and paste) the following commands in the Command Prompt again and press Enter after each command:
Dism /Image:C:\offline /Cleanup-Image /RestoreHealth /Source:c:\test\mount\windows

Dism /Online /Cleanup-Image /RestoreHealth /Source:c:\test\mount\windows /LimitAccess
Once done, reboot your PC to save the changes you’ve made and see if they were able to fix the Windows Update Error 0xc8000222.
The DISM commands can also solve such errors like DISM error 0x800f081f and many Windows update issues like 0xc000012f.
Clear the Windows Update Configuration and Cache
You may need to clear the cache and rename the Windows Update service. To do so:
- Right-click on Start Menu > Command Prompt (Admin).
- If User Account Control (UAC) is enabled, select Yes.
- In the Command Prompt, type
net stop wuauserv. Then, wait for the message that indicates, “The Windows Update service was stopped successfully.”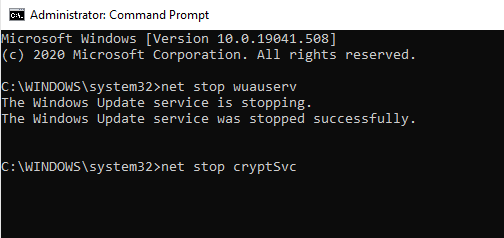
- Again, execute this command:
ren c:\windows\SoftwareDistribution softwaredistribution.oldNote: This command will rename the old Windows Update directly and cause the Windows Update service to recreate this folder. - Again, run this command:
net start wuauserv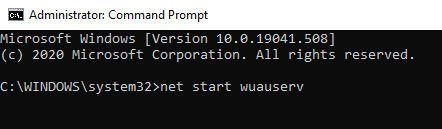
Wait for the message that says, “The Windows Update service was started successfully”.
Perform a Clean Boot
Sometimes the third-party software in your computer can conflict with Windows essential services and cause the Windows Update error. If you perform a clean boot, you’ll get the opportunity to diagnose the issue step by step.
To conduct a clean boot in Windows 10:
- Sign in to your PC as an administrator.
- Open the search box, then type
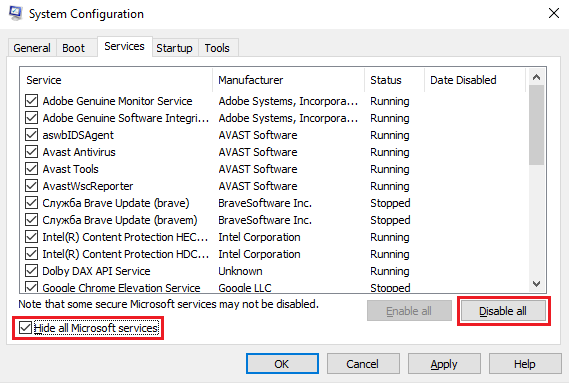
msconfig. - Click System Configuration, then go to the Services tab.
- Check the box of ‘Hide all Microsoft services’ and then click Disable all.
- Move to the Startup tab in the System Configuration > then select Open Task Manager.
- In the Task Manager, go to Startup.
- For each startup item in the list, select the item and then select Disable.

- Once you’ve disabled all the tasks, close the Task Manager.
- Now, still in the System Configuration Window, go to the Startup tab and select OK.
Now, try again to conduct the Windows Update and see if it works without the error.