Have you encountered the Windows Update error 0xc1900101 when trying to update your Windows OS? Don’t worry, you’re not alone. Other Windows users have reported experiencing the error, especially when their drivers are out of date.
Here, we discuss the solutions to help you fix Windows Update error 0xc1900101 in Windows 10 to allow you successfully install the Windows update or upgrade.
What Is Windows Update Error 0xc1900101?
When you encounter the Windows Update error 0xc1900101, it can indicate that your device driver has issues with the Windows Update you’re trying to install. Some users also note that a sensitive antivirus program can also hinder installing the Windows update or Windows upgrade and cause error 0xc1900101.
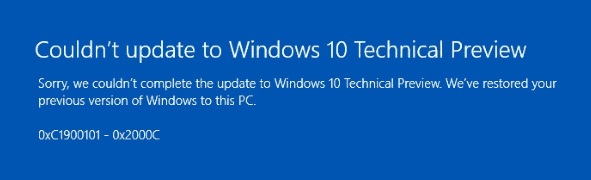
When you encounter error 0xc1900101, it is accompanied by a message such as the one below:
“Couldn’t update to Windows 10, Sorry we couldn’t complete the update to Windows. We’ve restored your previous version of Windows to this PC: error 0xc1900101.”
There are different versions of Windows Update error 0xc1900101 that you may encounter when installing the Windows 10, including:
- 0xC1900101 – 0x2000c
- 0xC1900101 – 0x20004
- 0xC1900101 – 0x20017
- 0xC1900101 – 0x30018
- 0xC1900101 – 0x3000D
- 0xC1900101 – 0x4000D
- 0xC1900101 – 0x40017
Download the Outbyte PC Repair software to automatically delete junk files and fix many Windows issues.
What Causes Windows Update Error 0xc1900101?
Any error that begins with code 0xC1900101 is ordinarily a driver error. However, there can be some other causes, such as:
- Device driver issues, such as out-of-date drivers or the updated OS is not compatible with the device drivers
- Corrupted Windows system files
- Incomplete uninstallation or incomplete installation of Windows or application updates
- Malware or virus infection or sensitive antivirus software
- Incompatible external device hardware
How to Fix Windows Update Error 0xc1900101 in Windows 10
If you see any of the 0xc1900101 error codes, use the following solutions to fix the issue:
Fix #1: Make sure there is enough space on your device
Sometimes, the error occurs if your device lacks enough space to install the Windows update/upgrade. Usually, your device requires 16 GB or more to install the Windows update or upgrade of a 32-bit OS and 20 GB space for a 64-bit OS. If there is not enough space, you can free up disk space on your device’s C disk to create space to install the update or upgrade.
Here are a few methods through which you can free disk space:
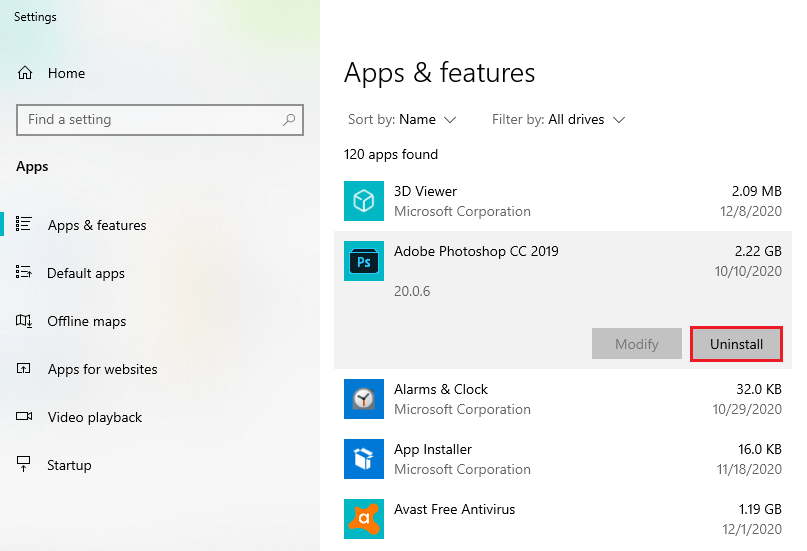
- Uninstall unnecessary or useless applications.
- Delete the temporary files on your device and the Windows.old folder.
- Turn off Hibernation.
- Extend your system partition.
- Change the Windows 10 Virtual Memory size.
- Migrate your Windows OS to a larger HDD or SSD.
Fix #2: Unplug extra devices or hardware
If your computer has a number of external devices plugged in, such as:
- A printer
- DVD
- USB flash drive
- Your cell phone, or
- Digital camera
Windows may get stuck when the drivers of these devices are incompatible with Windows 10 and cause error 0xc1900101.
To fix the problem, remove all external storage devices and drives and other hardware that aren’t needed for basic computer functionality.
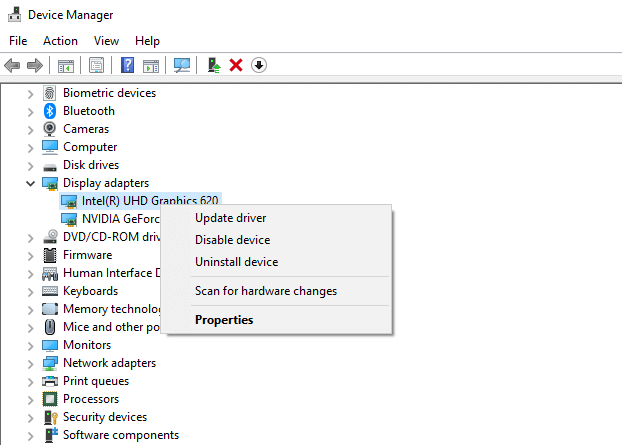
Fix #3: Check Device Manager for errors
Because error 0xc1900101 is a common problem related to the device driver, you need to check your computer’s drivers and update or uninstall the drivers that might be causing the problem:
- Click the Win Search box on the taskbar.
- Type
device managerand press Enter. - Browse through all the categories on the list of devices to check the states of all the drivers.
- Right-click on every device with a yellow exclamation mark and select either Update Driver or Uninstall. Follow the process you select to completion. This process will correct the errors.
Once you’re done with the whole process, reboot your computer to effect the changes and see if you’re still encountering error 0xc1900101.
To avoid manual work you can use a special driver updater tool that will update all the devices at once on your PC.
Fix #4: Remove third-party security programs
Sometimes, the 0xc1900101 error may be occurring because of a third-party security program on your computer such as an antivirus software or a firewall. You may need to disable or uninstall it until you are done with the Windows update or upgrade. In the meantime, Windows Defender will be protecting your device.
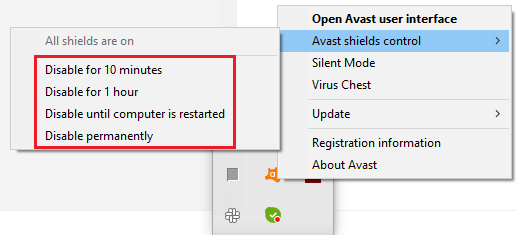
Note: Before you uninstall the program, ensure that you have the product license so you can resume your subscription should you decide to reinstall it.
Fix #5: Update third-party drivers
If there are outdated third-party drivers on your device, you need to update them immediately. You can find the third-party drivers and installation instructions on the manufacturer’s website. Alternatively, use a driver updater tool like Outbyte Driver Updater which will update all the PC drivers at once.
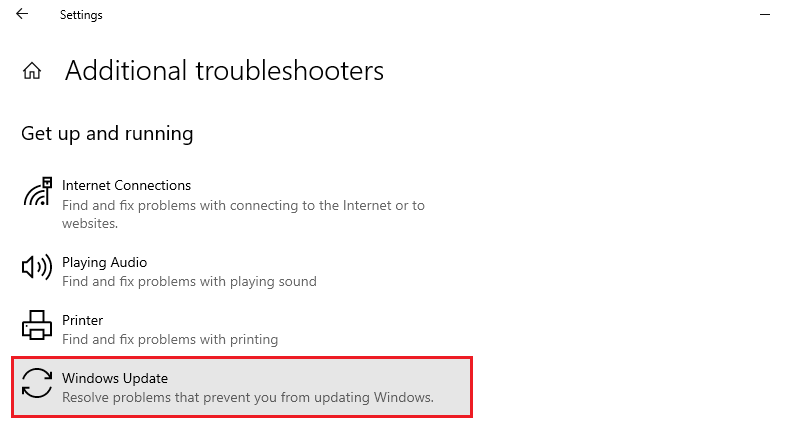
Fix #6: Run the Windows Update Troubleshooter
Windows Update Troubleshooter is a built-in Windows repair tool that can resolve PC update issues automatically. It is your best bet to resolve any issue related to Windows Update. To run the Windows Update troubleshooter:
- Press Win + R keys to open up a Run dialog.
- In the box, type
ms-settings:troubleshootand hit Enter to open the Troubleshoot section in Settings. - On the Troubleshoot screen, click Additional troubleshooters (under “View troubleshooting history”).


- Now click “Run the Troubleshooter” in Windows Update section.
- Wait until the tool runs to completion to identify the errors.
If it identifies an error, click “Apply this fix” to fix it automatically. Once you’re done, restart your computer and see if error 0xc1900101 is still occurring when you’re installing/upgrading Windows.
Fix #7: Check disk or repair hard-drive errors
Check Disk is a Windows built-in utility that can check if disk errors or Windows system errors are causing a problem while updating or upgrading Windows.
- Click the Win Search box on the taskbar.
- Type
Command Promptand click “Run as administrator”. - In the elevated Command Prompt, type
chkdsk/f C:and press the Enter key
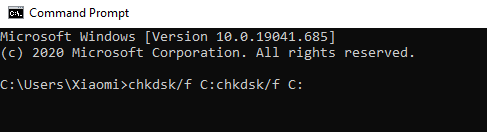
Windows will start to conduct repairs automatically, on your hard drive. After completing the repairs, it will ask you to restart your device.
Fix #8: Upgrade your device’s BIOS
Some users have reported that when the device’s BIOS is outdated, they can glitch in the Windows upgrade process. Microsoft acknowledges that if your BIOS is out of date, it may be challenging to upgrade your operating system successfully.
So, if this is the case, updating your BIOS is the solution to help you get rid of error 0xc1900101.
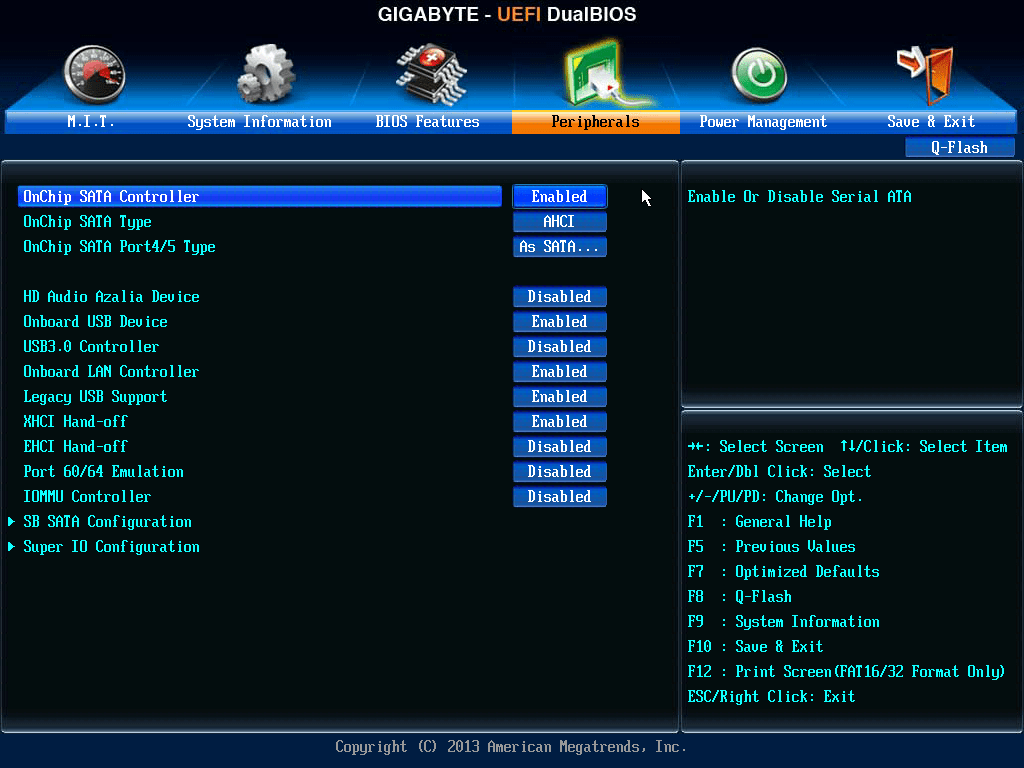
Note: Updating BIOS is a complicated process and, if done wrongly, can cause PC damage. You may need to take your PC to a computer expert to help you conduct the BIOS update.
Wrapping Up
You will receive various errors as you use your Windows computer. It is better to ensure that you can restore your system when you experience system crashes. We suggest that you always keep your PC clean to avoid such system crashes. Also, ensure that you back up your system to be able to restore it in case of any crash.