In this article, we will address ways in which Cortana can be disabled or fixed through manipulating the Registry and Group Policy configurations.
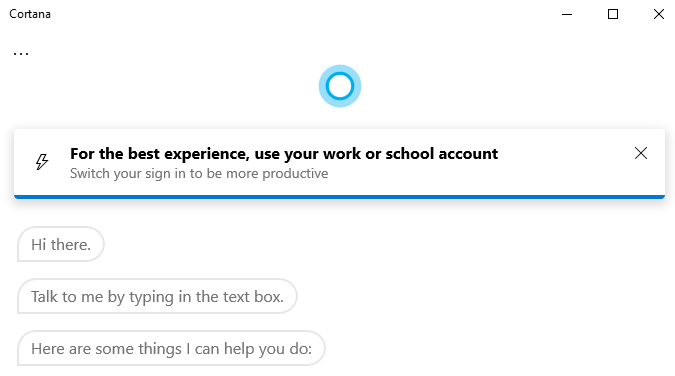
What Is Cortana?
Cortana is one of Microsoft’s privileged kids, the one that the company doesn’t want its users to disable. Considering the hype that came along with the introduction of Microsoft’s virtual assistant, one cannot simply blame the company for trying to keep their proud work in action.
When it first launched as part of the Windows 10 package, users could easily turn it off, but the company removed that simple toggle switch in its Anniversary Update. This means that for the average computer user, disabling Cortana has become more of a puzzle.
- Developer: Microsoft Corporation
- Program: Cortana
- Executable File/Process: SearchUI.exe
- Operating System: Windows 10, iOS, Android, Xbox OS
- Folder Location: C:\Program Files\WindowsApps (on Windows 10)
- Known File Size: 58.5 MB
High CPU Usage by Cortana
If this built-in app is such a precious gem of the MS ecosystem, why do users disable it? Cortana’s functionality has become increasingly restrictive over time. The app is designed to disregard the default browser in an attempt to promote the use of Microsoft Edge.
The program uses only Bing to search for results and consistently launches the Edge browser. Some users have indicated that they experience high CPU usage caused by Cortana when the Start menu is open.
This can also be the reason why File Explorer is so slow. Because Cortana is hogging all the computer resources, all the other Windows processes are having trouble functioning properly.
Whatever the reason might be, Cortana can be disabled – even though the process is now more complex than before.
Read also: Windows Explorer Using High CPU
How to Disable Cortana on Windows 10
For Windows 10 Home users, Cortana can be disabled via the Registry Editor. This process requires the user to access and edit the Registry. Windows 10 Professional and Enterprise users can also use this process if they find it more convenient than the method involving the usage of the Group Policy Editor (which will be addressed later in the article).
However, for Professional and Enterprise users, we recommend using the Group Policy Editor since the procedure involved is less complex.
Important Note: The Registry Editor is an advanced tool that enables access to the Windows Registry. Therefore, any misuse or mistake can lead to system instability or even permanent damage (if, by any chance, this happens, consider using a competent PC repair tool to restore system stability).
However, as indicated earlier, the instructions provided in this article make the whole process a simple hack. Follow the instructions as outlined for the best results.
Use the Registry to Disable Cortana
If this is the first time you are accessing the Registry Editor, we advise obtaining in-depth information concerning how to use it before initiating the process. And finally, make a Registry backup before making any changes.
A system restore point must also be created in case things go south during the process.
Now that safety measures have been carried out, access the Registry Editor by following the instructions below:
- Press Win + R to launch the Registry Editor. Into the search field, type
Regeditand hit Enter. - Find the location address shown below in the left sidebar:
HKEY_LOCAL_MACHINE\SOFTWARE\Policies\Microsoft\Windows\Windows Search
- Right-click on the key folder labelled Windows Search and choose New, then DWORD (32-bit) value.
- Give the value the title “AllowCortana” before double-clicking on it to set the value to “0”.
- Once done, close the Registry Editor and restart the system for the changes to take effect.
For future reference, to activate Cortana and undo the changes, follow the same procedure, but this time, delete the “AllowCortana” value or just set it to “1”.
Use Group Policy to Disable Cortana on Windows 10 Pro and Enterprise
Using Group Policy is the easiest way to disable Cortana on Windows 10 Professional and Enterprise. This is an advanced tool, which can be intimidating to first-timers. Therefore, we also advise taking the time to learn more about it before initiating the process.
If the computer is part of a company network, it’s best to first check with the admin. A system restore point must be created as well before carrying out the procedure.
Here is what you should do:
- Open the Group Policy Editor by pressing the Win + R shortcut. Type
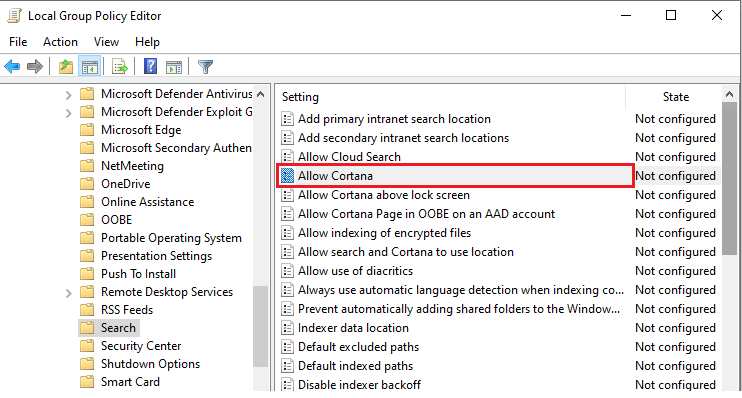
gpedit.mscinto the search field and hit Enter. - Under Computer Configuration, select Administrative Templates > Windows Components, and then click Search.
- On the right pane, find the Allow Cortana configuration and double-click on it.

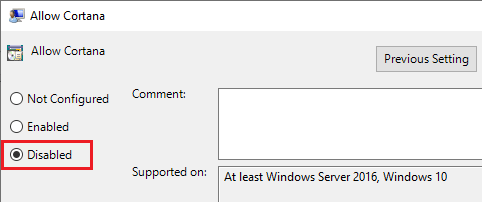
- Toggle the Allow Cortana setting to Disabled before selecting OK.

- Close the Group Policy Editor and restart the system for the changes to take effect.
Cortana Is Not Working in Windows: How to Fix It
If you’re not interested in disabling the virtual assistant and are running into problems with Cortana being suspended, we have a quick fix in place. There are various reasons why this may be happening. For example, Cortana may have been disabled on your computer. Other causes include a disabled microphone or interference from your antivirus tool. Use the steps provided above to check whether or not Cortana has been disabled.
- Make sure it is enabled.
- If the solution doesn’t work, test the microphone for any malfunction and ensure that it’s working.
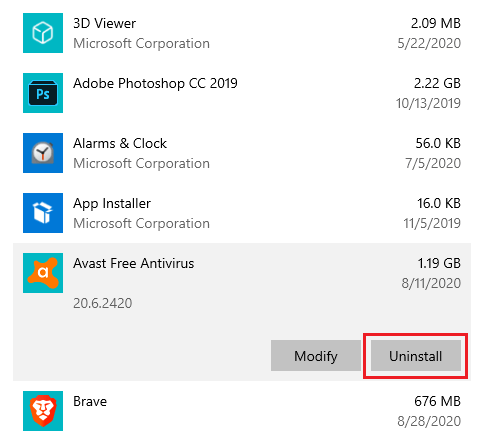
- Then, disable any third-party antivirus software installed on the system. Some antivirus tools are incompatible with Cortana, which leads to them blocking the program from launching. If uninstalling the antivirus program helps solve the issue, consider uninstalling it and switching to Microsoft’s built-in Windows Defender.
If none of the quick fixes mentioned above works, consider resetting the computer. This measure lets users keep their data while restoring Windows to its original state. If it doesn’t help, the last solution is to perform a clean installation. However, this move will erase all of your data permanently with no option to restore it. Thus, we advise backing up your data before initiating the clean installation process.