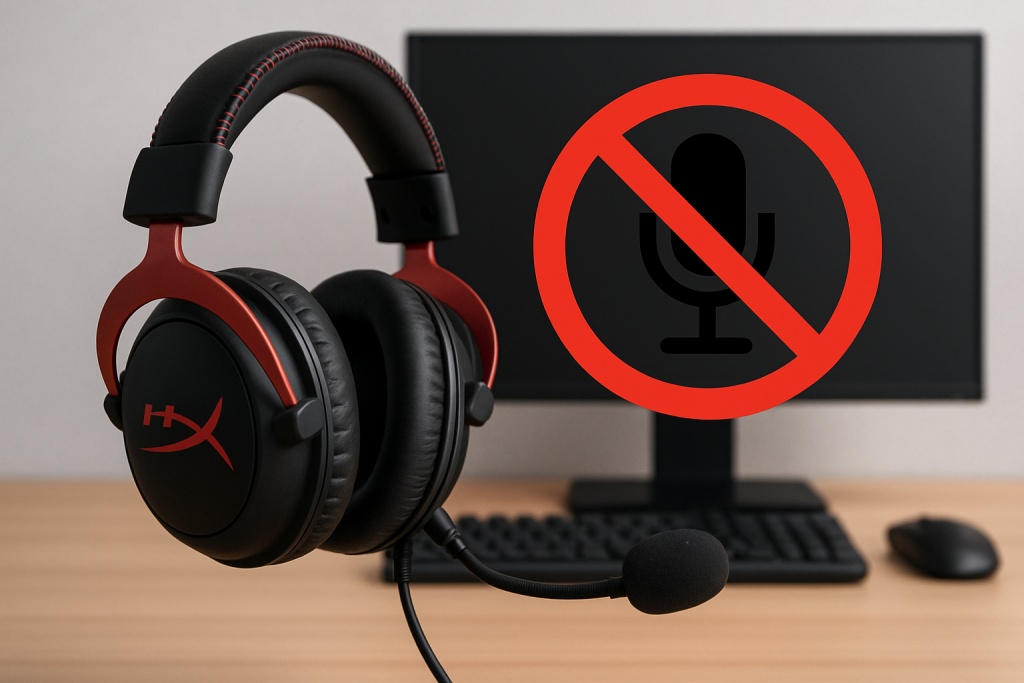
The HyperX Cloud 2 is among those headsets loved for their awesome sound quality, with the microphone being problematic sometimes.

In case you happen to use the HyperX Cloud 2 and your mic is not working, you should not be afraid of this. Here is how to identify and resolve some of the common microphone issues.
Basic Troubleshooting
First, some quick checks to get you started before deep-diving into the more technical ways of fixing this:
Make sure your headsets are plugged into the correct jack and securely.
First of all, ensure the mute switch of your headset is off. Then try using your microphone on another device to rule out problems in hardware. If these steps will not solve your problem, here are the below solution steps.
Step 1: Check Your Computer’s Sound Settings
Sometimes, the microphone isn’t selected as the default recording device. To check and configure your sound settings:
- Open Sound Settings: Right-click on the sound icon in the taskbar and select Sound Settings.
- Set Default Microphone: Under the Input section, ensure that the HyperX Cloud 2 mic is selected as the default device.
- Test the Microphone: Click Test your microphone to check if it’s picking up sound.
- Adjust Permissions: Go to Privacy Settings > Microphone and ensure apps are allowed to access your microphone.
Step 2: Change Your Sound Format to a Higher Version
If your HyperX Cloud microphone isn’t working properly, updating the sound format might help:
- Access Sound Settings: Right-click the sound icon and open Sound Settings.
- Open Device Properties: Under the Input section, click Device properties.
- Adjust Format: Click the Advanced tab. From the pull-down, select a higher sample rate – 48000 Hz or 96000 Hz.
Step 3: Update the HyperX Cloud 2 Driver
Outdated or corrupted drivers can be a reason for malfunctioning microphones. Updating the driver can resolve this:
- Open Device Manager by clicking the Start menu and right-clicking.
- Find the Audio Device: Under the ‘Audio inputs and outputs’ section, find your HyperX Cloud 2 mic and right-click on it.
- Update Driver: Click on Update driver then select Search automatically for drivers.
- Restart the computer: Restart your computer and then check if the microphone is working or not.
The easy way is to have the drivers updated with a driver updater tool like Outbyte Driver Updater.
Step 4: Run Windows 10/11’s Sound Troubleshooter
Built-in Sound Troubleshooter: Windows may find and automatically fix audio problems in the system:
- Open the Troubleshooter: Open Settings > Update & Security, and then select Troubleshoot.
- Select Sound Troubleshooter: Under Get up and running, click Playing Audio then select Run the troubleshooter.
- Follow Prompts: Let the troubleshooter scan and apply recommended fixes.
- Restart Your Computer: Restart and Test the microphone after the troubleshooting process.
More Help for Your PC:
Computer Turns On by Itself After Shutdown: What to Do?
How to Fix Copy and Paste Not Working in Windows 10
FAQs
Why is my HyperX Cloud 2 mic not working on my PC?
Either your microphone is not set to be the default device, or maybe the driver is outdated. Go into your sound settings and update your drivers.
How do I know if my HyperX Cloud 2 microphone is broken?
Try your microphone in another device. If it works elsewhere, the problem is with the settings or drivers of your computer.
Can I resolve the issues with the microphone by upgrading Windows?
Yes, many times an upgrade can help resolve compatibility problems of Windows with your microphone.
What if even after these steps my microphone is not working?
However, if none of these works for you, now is the time to directly approach the support team at HyperX for further assistance and enlightenment or replace the microphone; it may be defective.
Is There a Fast Way to Update All of My Drivers?
Yes, there are facilities like Outbyte Driver Updater, which update automatically to keep up optimum performance.


