How To Fix windows 11 mic not working in Windows
How To Fix windows 11 mic not working in Windows
When your microphone stops working in Windows 11, it means your computer can no longer detect or process audio input from your microphone device. This frustrating issue prevents you from being heard during important video calls, online meetings, voice chats, or when recording audio. The problem typically manifests as others not being able to hear you, recording applications showing no input, or audio settings indicating no microphone activity.
This issue commonly occurs after Windows updates, driver conflicts, privacy setting changes, or when connecting new audio equipment. Users often encounter it when joining Zoom meetings, using Microsoft Teams, recording in applications like Audacity, or during Discord voice chats. While this article focuses on Windows 11, similar microphone issues can affect Windows 10 users as well, particularly following major system updates.
The impact extends beyond simple inconvenience—it can disrupt work communications, online learning, and virtual social interactions. You might notice issue messages like "No audio input device found" or applications showing microphone access issues. The good news is that microphone problems are typically resolvable through systematic troubleshooting. Most solutions involve checking basic connections, adjusting system settings, updating drivers, or configuring application permissions. With the right approach, you can usually restore microphone functionality and return to seamless communication without needing advanced technical expertise.
Contents
[hide]PREPARATION STEPS
Before troubleshooting your microphone on Windows 11, complete these preparatory measures to ensure system safety and effective resolution:
1. Create a System Restore Point
- Open Start, type "Create a restore point," and select the result. In System Properties, click "Create," name it (e.g., "Pre-Mic Resolve"), and confirm.
- *Purpose:* Allows you to revert system changes if modifications cause instability.
2. Back Up Critical Data
- Copy important files (documents, photos) to an external drive or cloud service like OneDrive.
- *Purpose:* Safeguards personal data against accidental loss during troubleshooting.
3. Temporarily Disable Antivirus/Firewall
- Open your antivirus software (e.g., Windows Security via Settings > Privacy & security > Windows Security) and temporarily disable real-time protection.
- *Purpose:* Eliminates potential software conflicts that may block microphone access.
4. Document Current Settings
- Note current microphone input levels and app permissions in Settings > System > Sound.
- *Purpose:* Provides a reference to restore preferred configurations after resolves.
STEP-BY-STEP FIXES
Solution 1: Check Microphone Permissions
1. Press `Win + I` to open Settings.
2. Navigate to Privacy & security > Microphone.
3. Ensure "Microphone access" and "Let apps access your microphone" are toggled On.
4. Scroll to individual apps and enable microphone access for those needed (e.g., Teams, Zoom).
5. Restart the application and test the microphone.
Solution 2: Update or Reinstall Audio Drivers
1. Right-click the Start button and select Device Manager.
2. Expand "Sound, video and game controllers," right-click your audio device, and select "Update driver."
3. Choose "Search automatically for drivers" and follow prompts.
4. If issues persist, right-click the audio device again and select "Uninstall device." Check "Delete the driver software for this device" if available.
5. Restart your PC to trigger automatic driver reinstallation.
6. Test the microphone.
> Warning: Uninstalling drivers may temporarily disable audio until reboot.
Solution 3: Reset Audio Services via Command Line
1. Press `Win + X` and select Windows Terminal (Admin) or Command Prompt (Admin).
2. Run these commands sequentially to restart audio services:
```cmd
net stop Audiosrv
net stop AudioEndpointBuilder
net start AudioEndpointBuilder
net
                        start Audiosrv
```
3. Test the microphone in your preferred application.
4. If unresolved, run the Windows Audio Troubleshooter via Settings > System > Troubleshoot > Other troubleshooters.
ADVANCED SOLUTION OPTION
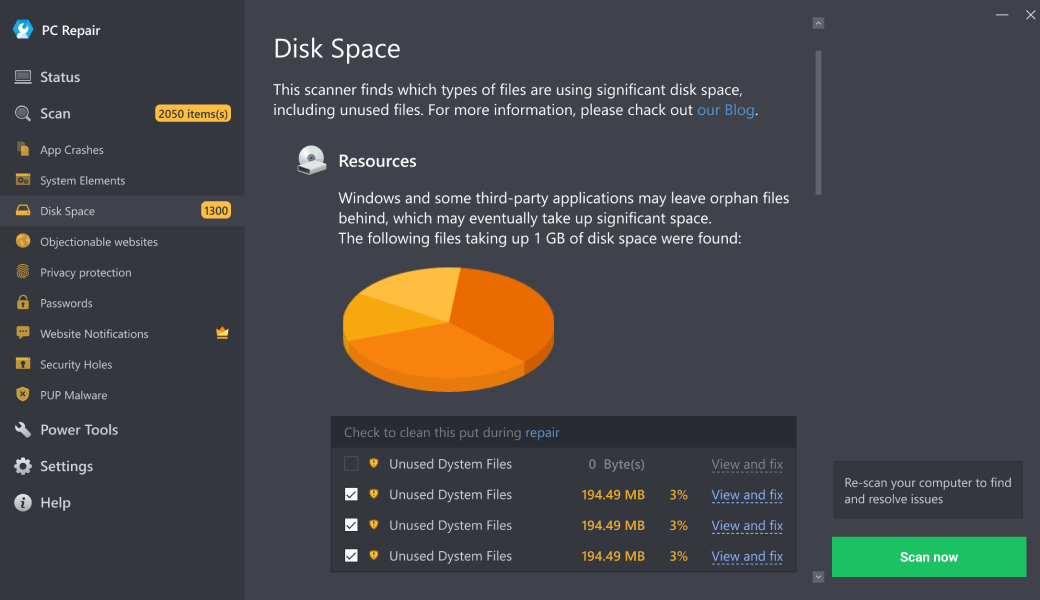
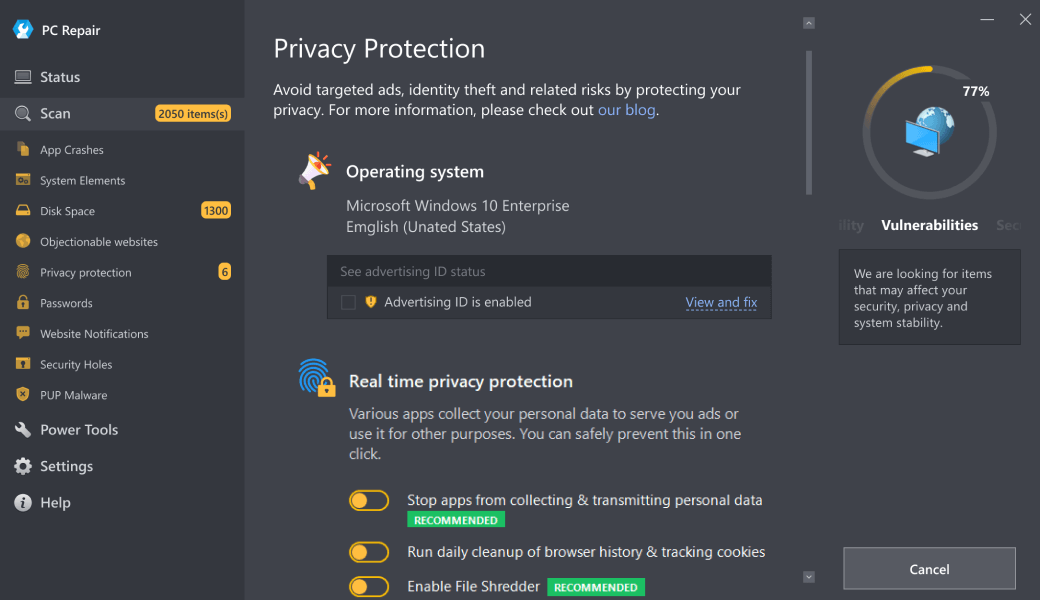
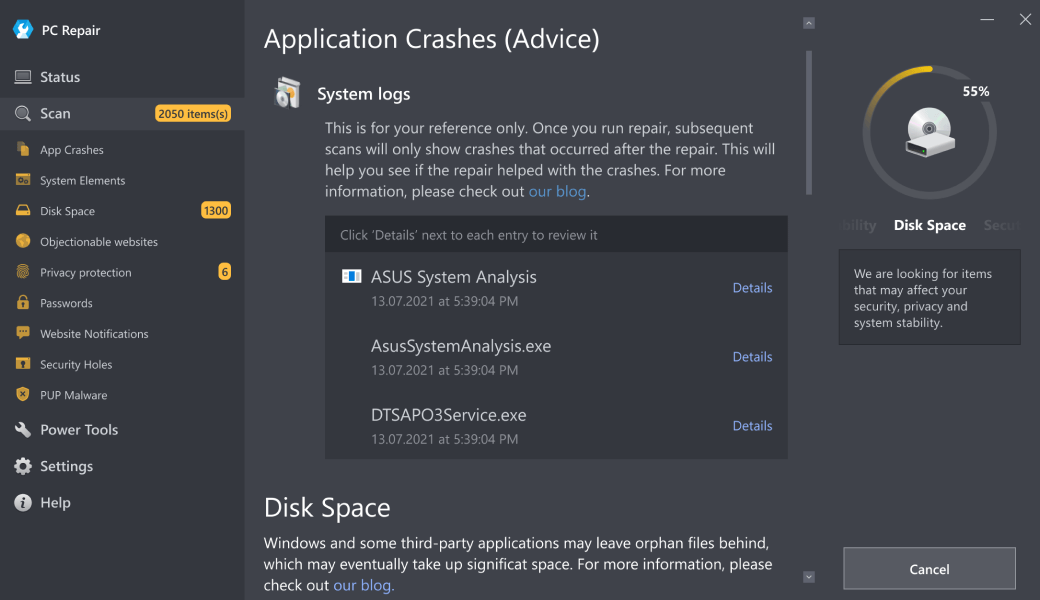
For users encountering persistent or complex microphone issues—such as driver conflicts, registry issues, or systemic audio service failures—automated repair tools offer a streamlined alternative to manual troubleshooting. Outbyte PC Repair is a professional-grade utility designed to diagnose and resolve underlying system problems efficiently, including audio device malfunctions, corrupted system files, and performance bottlenecks. It performs comprehensive scans to identify issues across drivers, registry entries, and system settings, then applies targeted repairs to restore functionality without requiring advanced technical knowledge. This approach is particularly valuable when time is limited or multiple troubleshooting steps have proven ineffective, providing a consolidated solution for maintaining overall system health and stability.
Download Outbyte PC Repair for automated issue diagnosis and repair (compatible with Windows 8/10/11).Special offer. See more information about Outbyte; uninstall instructions; EULA; Privacy Policy.
MAIN CAUSES
1. Incorrect Audio Input Settings
Windows may be configured to use the wrong microphone as the default input device. This commonly occurs when multiple audio input devices are connected (built-in mic, USB headset, webcam mic), and Windows selects an inactive or disconnected device. Users can verify this through Sound Settings > Input, where the correct microphone should be designated as default.
2. Outdated or Corrupted Audio Drivers
Audio drivers facilitate communication between Windows and your microphone hardware. When these drivers become outdated, incompatible after system updates, or corrupted by software conflicts, microphone functionality may fail. Device Manager will typically show warning icons or issue codes for affected audio devices.
3. Privacy Permission Restrictions
Windows 11 includes strict privacy controls that govern microphone access for applications. If microphone access is disabled system-wide or for specific apps, those applications cannot detect or use microphone input. These settings are managed through Privacy & Security > Microphone permissions.
4. Hardware Connection Issues
Physical connection problems can prevent microphone detection. For external microphones, this includes loose USB connections, damaged cables, or incorrect port usage. For internal microphones, connection issues may stem from loose internal ribbon cables or physical damage to the microphone component.
5. Audio Services Malfunction
The Windows Audio service and related components (Audio Endpoint Builder) manage all audio input/output operations. If these services become unresponsive, corrupted, or disabled, the entire audio subsystem may malfunction, affecting microphone functionality alongside other audio features.
6. Third-Party Software Conflicts
Security software (antivirus, firewalls) or communication applications (VoIP software, video conferencing tools) can sometimes block microphone access or create driver-level conflicts. These programs may override Windows audio settings or restrict microphone permissions through their own security protocols.
7. Hardware Failure or Physical Damage
The microphone hardware itself may have failed due to manufacturing defects, physical damage from impact or liquid exposure, or normal wear and tear. Internal microphones are particularly susceptible to damage from device drops or pressure on the device casing.
CONCLUSION
Maintaining reliable microphone functionality in Windows 11 requires consistent system maintenance and proactive troubleshooting. Regular attention to your computer's audio system can prevent many common microphone issues and ensure your device remains ready for communication needs, whether for professional meetings, educational purposes, or personal connections.
Implementing a structured maintenance routine significantly enhances system reliability. Begin with regular driver updates, particularly following major Windows feature updates that often introduce compatibility changes. Periodically review your privacy settings to ensure applications have appropriate microphone permissions, as these settings can reset during system updates. Conduct monthly audio system checks using Windows' built-in sound troubleshooting tools to identify potential issues before they affect functionality. Keep your operating system current with the latest security patches and bug resolves, as Microsoft frequently addresses audio-related issues in cumulative updates.
For comprehensive system maintenance, consider utilizing specialized PC optimization tools like Outbyte PC Repair, which can automate driver updates, registry cleaning, and system optimization tasks. These tools help maintain system health by addressing underlying issues that may not be immediately apparent through manual troubleshooting. However, always ensure any third-party software comes from reputable sources and complements rather than replaces standard Windows maintenance practices.
When troubleshooting persistent microphone issues, follow a logical progression from software to hardware diagnostics. If problems continue after updating drivers, checking permissions, and testing with multiple applications, the issue may require professional technical assistance. Computer repair specialists can perform advanced diagnostics on audio hardware components and identify whether internal repairs are necessary. Remember that consistent system maintenance not only resolves immediate audio concerns but also contributes to overall computer performance and longevity, ensuring your device remains a reliable tool for both professional and personal computing requirements.
| Trial limitation: | Category-based repair access for at least 2 days |
| Price (full version): | From $29.95 |
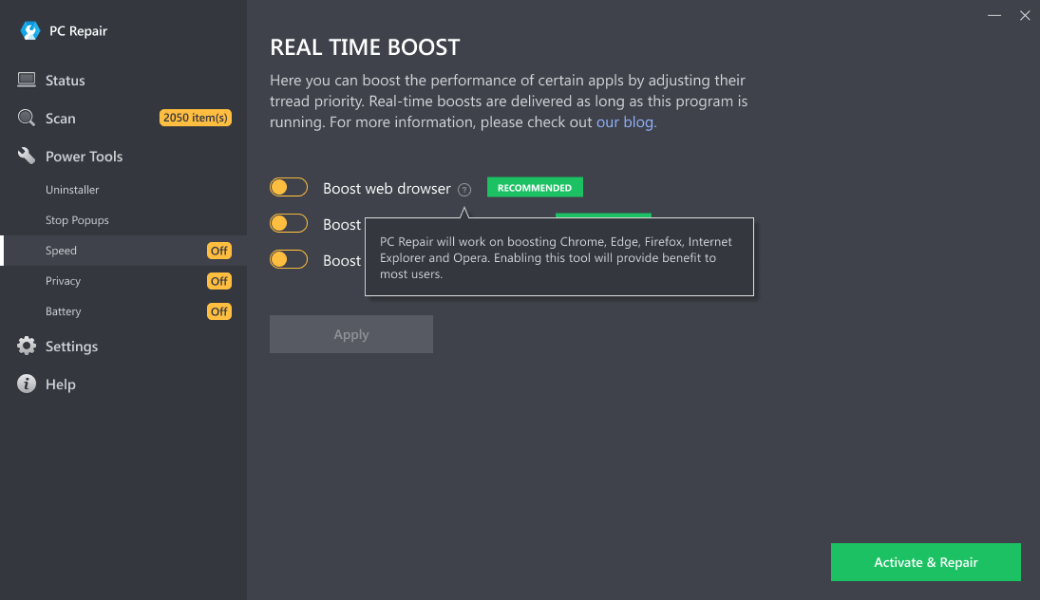
The following steps should resolve the windows-11-mic-not-working issue:
- Step 1. Download Outbyte PC Repair application See more information about Outbyte; uninstall instructions; EULA; Privacy Policy.
- Step 2. Install and launch the application
- Step 3. Click the Scan Now button to detect issues and abnormalities
- Step 4. Click the Repair All button to resolve the issues
| Compatibility | Win 11, 10, 8 |
| Download Size | 28 MB |
| Requirements | 300 MHz Processor, 256 MB RAM, 101 MB disk space |
Limitations: The trial version offers unlimited scans, backups, and restores. Full version registration starts at $29.95.

Outbyte PC Repair (version 1.1.12.641) is certified by AppEsteem – a trusted cybersecurity organization – with ongoing monitoring.
Being able to meet all of AppEsteem’s strict requirements means that Outbyte PC Repair can be considered clean, safe, and transparent; and that it is compliant with the ethical and legal norms of distribution.
AppEsteem is one of the world’s most prominent cybersecurity organizations that contributes to the safety of more than 2 billion users. The company was founded by a team of experienced Microsoft cybersecurity specialists. Its mission is to create a safe space for computer and internet users where they are protected against cyber threats and deceptive or unethical practices.