How To Fix Secure Boot Unsupported in Windows
How To Fix Secure Boot Unsupported in Windows
Introduction
Encountering a "Secure Boot Unsupported" issue message can be confusing and concerning when you're trying to use your Windows computer. This guide will explain what this issue means, why it occurs, and how you can resolve it.
Secure Boot is a security feature designed to protect your computer during startup by ensuring that only trusted software from your device manufacturer loads before the operating system begins. When Windows displays a "Secure Boot Unsupported" message, it means your computer's hardware or current settings aren't compatible with this security standard. This typically happens in several common situations: when upgrading from an older version of Windows, after changing hardware components, when using custom-built computers, or when BIOS/UEFI settings have been modified.
This issue can affect various Windows versions including Windows 11, Windows 10, and Windows 8.1, though it's most commonly encountered during Windows 11 installations since Secure Boot is a requirement for that operating system. While this issue might prevent you from installing or updating Windows, it doesn't necessarily mean your computer is broken or unusable. You might notice limitations in accessing certain features or receive warnings about system security.
The good news is that this situation is usually fixable through adjustments in your computer's settings or, in some cases, through hardware updates. Related issue codes you might see alongside this message include "0xC0000260" or various BIOS/UEFI warnings. With the right approach, you can either enable Secure Boot compatibility or configure your system to work properly without it, depending on your needs and hardware capabilities.
Contents
[hide]PREPARATION STEPS
Before addressing the "Secure Boot Unsupported" issue, please complete these preparatory measures to ensure system safety and restore capability:
1. Create a System Restore Point
- Open Start Menu, type "Create a restore point," and select the result.
- In System Properties, click "Create," name it (e.g., "Pre-SecureBootResolve"), and confirm.
*Purpose:* Allows you to revert system changes safely if modifications cause instability.
2. Back Up Critical Data
- Copy essential files (documents, photos, etc.) to an external drive or cloud storage.
*Purpose:* Protects against accidental data loss during troubleshooting.
3. Temporarily Disable Antivirus/Firewall
- Open Windows Security via Start Menu, navigate to "Virus & threat protection," and select "Manage settings." Temporarily turn off real-time protection.
*Purpose:* Prevents security software from interfering with BIOS/UEFI configuration access or system file modifications.
4. Document Current BIOS/UEFI Settings
- Note down current BIOS configurations (especially boot order and Secure Boot status) before making changes.
*Purpose:* Provides a reference to restore original settings if needed.
STEP-BY-STEP FIXES
Solution 1: Enable Secure Boot in UEFI Firmware
1. Restart your PC and repeatedly press the BIOS/UEFI access key (e.g., F2, Del, Esc) during boot.
2. Navigate to the "Boot" or "Security" tab using arrow keys.
3. Locate "Secure Boot" and set it to "Enabled."
4. Save changes and exit (usually F10). Allow the system to reboot.
Solution 2: Convert Disk to GPT Partition Style
1. Open Command Prompt as Administrator:
 ```cmd
 diskpart
 ```
2. List disks and identify the system disk:
 ```cmd
 list disk
 ```
3. Select the disk (replace # with your disk number):
 ```cmd
 select disk #
 ```
4. Convert the disk:
 ```cmd
 convert gpt
 ```
5. Exit DiskPart and restart.
Warning: This will erase all data on the selected disk. Ensure backups are complete.
Solution 3: Update/Reset UEFI Firmware
1. Visit your motherboard/laptop manufacturer's support website.
2. Download the latest UEFI/BIOS firmware update utility.
3. Run the update tool following manufacturer instructions exactly.
4. After update, re-enter UEFI settings and reset to factory defaults.
5. Reconfigure Secure Boot settings as needed.
ADVANCED SOLUTION OPTION
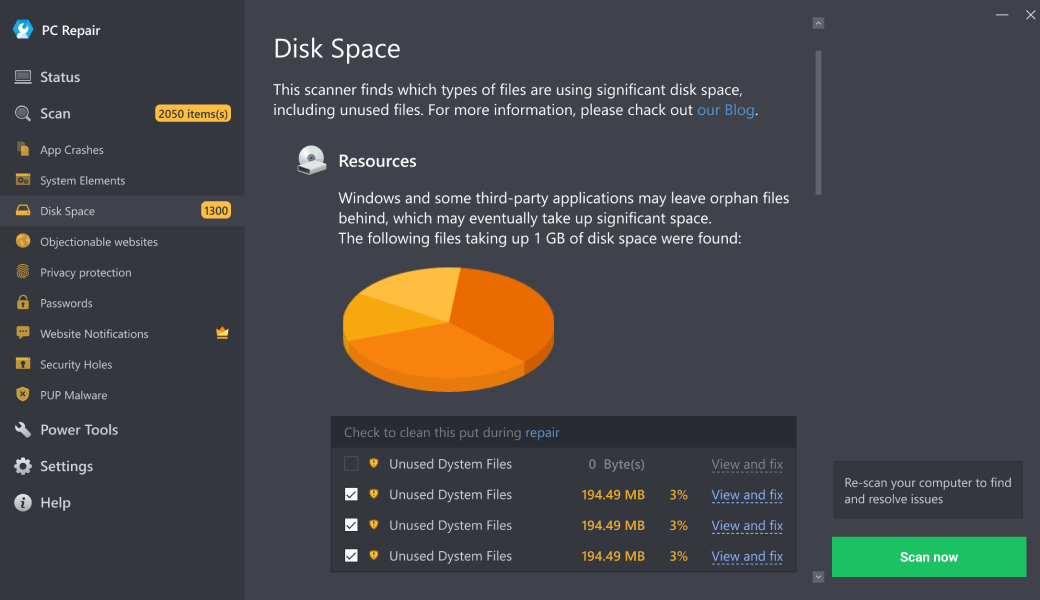
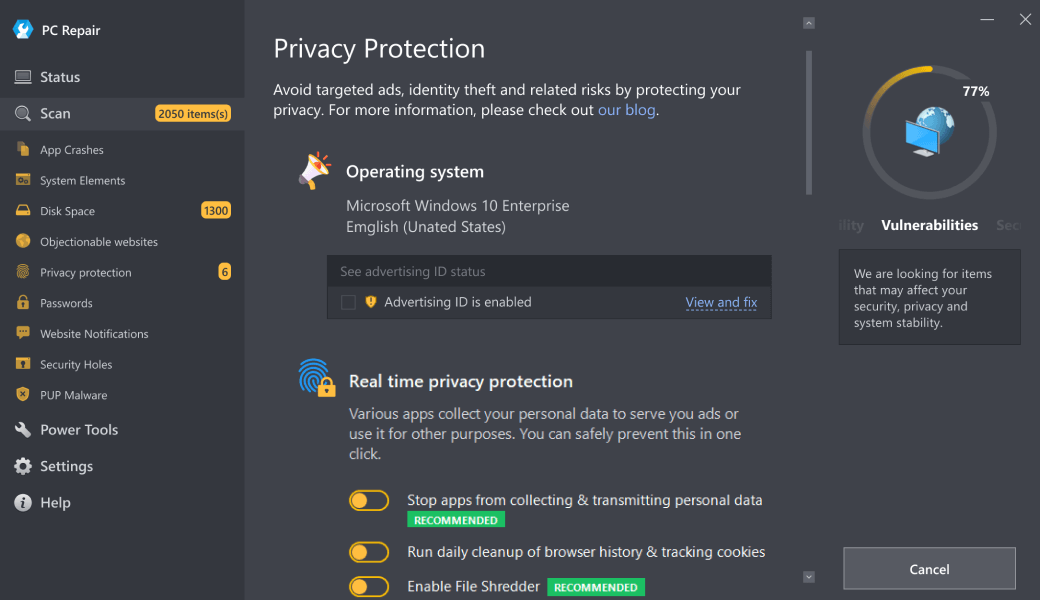
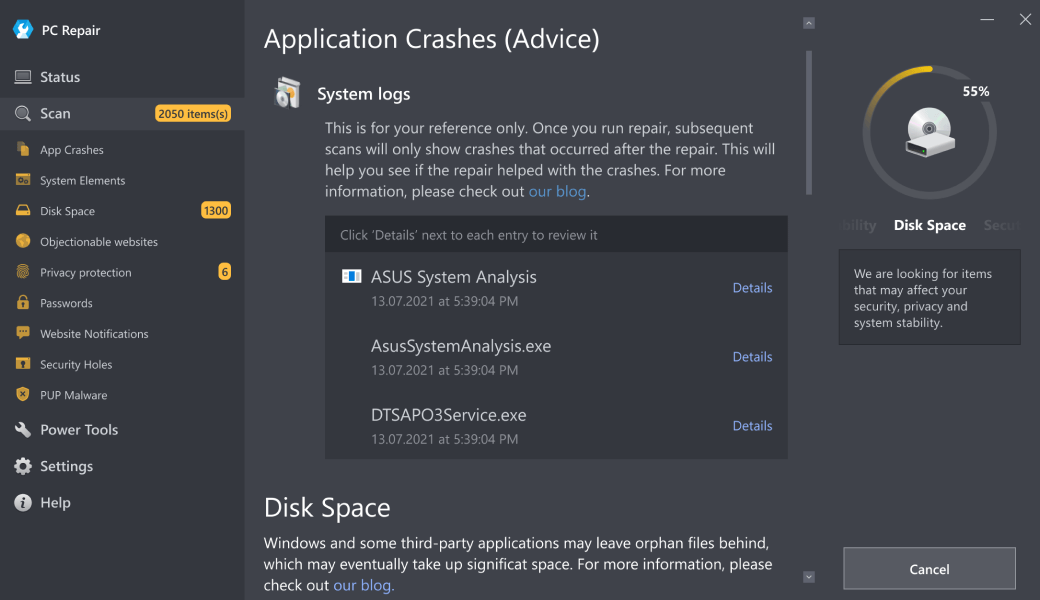
For users encountering persistent Secure Boot configuration issues or complex system conflicts, automated repair tools provide a streamlined alternative to manual troubleshooting. Outbyte PC Repair offers professional-grade system analysis and repair capabilities specifically designed to resolve boot configuration issues, update driver dependencies, and optimize system settings without requiring advanced technical knowledge. The tool's comprehensive scanning identifies underlying system inconsistencies, while its maintenance features help prevent recurrence through regular system health monitoring and optimization—making it particularly valuable for users needing reliable, time-efficient resolution of complex boot-related issues while maintaining overall system stability.
Download Outbyte PC Repair for automated issue diagnosis and repair (compatible with Windows 8/10/11).Special offer. See more information about Outbyte; uninstall instructions; EULA; Privacy Policy.
MAIN CAUSES
1. Legacy BIOS Mode Configuration
When your system is configured to run in Legacy BIOS mode instead of UEFI (Unified Extensible Firmware Interface), Secure Boot becomes unavailable. Secure Boot is a UEFI-exclusive security feature that requires the modern UEFI firmware architecture to function. Legacy BIOS systems lack the necessary framework to support Secure Boot protocols, resulting in this compatibility issue.
2. Outdated System Firmware
Older UEFI/BIOS versions may not include Secure Boot functionality or may have incomplete implementations. Manufacturers often add Secure Boot support through firmware updates as the technology became standardized. Running outdated firmware can mean your hardware technically supports UEFI but lacks the specific Secure Boot modules required for proper operation.
3. Hardware Platform Limitations
Certain older computer models, particularly those manufactured before 2012, may have hardware-level limitations that prevent Secure Boot implementation. While the system might use UEFI firmware, the motherboard's Trusted Platform Module (TPM) or other security chips may not meet the cryptographic requirements necessary for Secure Boot verification processes.
4. Incompatible Operating System Installation
If Windows was installed in Legacy BIOS mode on a UEFI-capable system, Secure Boot cannot be enabled without reinstalling the operating system. The boot configuration becomes locked to legacy compatibility, and switching to UEFI mode typically requires a complete system reinstallation with proper UEFI partitioning (GPT disks instead of MBR).
5. Custom or Modified Firmware
Systems with custom BIOS modifications, developer firmware, or manufacturer-specific UEFI implementations may have disabled or removed Secure Boot functionality. Some manufacturers create stripped-down firmware versions for specific markets or use cases that exclude security features like Secure Boot to reduce complexity or cost.
6. Improper UEFI Settings Configuration
Even on UEFI systems with Secure Boot capability, the feature might be disabled in firmware settings or configured incorrectly. Some systems require enabling additional security options, clearing Platform Key (PK) stores, or switching from "Custom" to "Standard" Secure Boot mode before the feature becomes operational.
7. Boot Media Compatibility Issues
When attempting to boot from installation media or external drives that aren't properly signed or formatted for UEFI, the system may report Secure Boot as unsupported. The issue can occur when boot media lacks the necessary digital signatures or uses legacy boot methods incompatible with Secure Boot requirements.
CONCLUSION
The "Secure Boot Unsupported" issue represents a fundamental compatibility issue between your system's firmware configuration and modern security standards. While this issue doesn't necessarily indicate immediate system instability, it does highlight important security limitations that could affect your computer's protection against boot-level malware and unauthorized operating system modifications. Addressing this situation requires a systematic approach to system maintenance and configuration management.
Regular system maintenance is crucial for maintaining both security and performance. I recommend implementing these practices: consistently check for and install firmware updates from your manufacturer; periodically verify your UEFI/BIOS settings to ensure optimal configuration; maintain updated system drivers, particularly chipset and security drivers; regularly scan for system file corruption using built-in Windows tools like SFC and DISM; monitor system health through Event Viewer for early warning signs; and consider using maintenance tools like Outbyte PC Repair to automate driver updates and system optimization tasks.
For resolving the Secure Boot issue specifically, begin by accessing your UEFI firmware settings during system startup (typically by pressing F2, Delete, or another manufacturer-specific key). Investigate whether your system supports UEFI mode and if Secure Boot options are available. If they exist but are disabled, you may enable them after ensuring your operating system installation supports UEFI booting. If your hardware genuinely lacks Secure Boot capability, focus on maintaining other security layers including regular antivirus updates, firewall configuration, and user account control settings.
When encountering persistent system configuration challenges or if you're uncomfortable modifying firmware settings, seeking professional technical assistance is advisable. Computer repair specialists can properly assess your hardware capabilities and recommend appropriate solutions, whether that involves firmware updates, system reconfiguration, or in some cases, hardware upgrades for enhanced security. Remember that maintaining system reliability requires ongoing attention to both software and firmware components, ensuring your computing environment remains secure and efficient for daily use.
| Trial limitation: | Category-based repair access for at least 2 days |
| Price (full version): | From $29.95 |
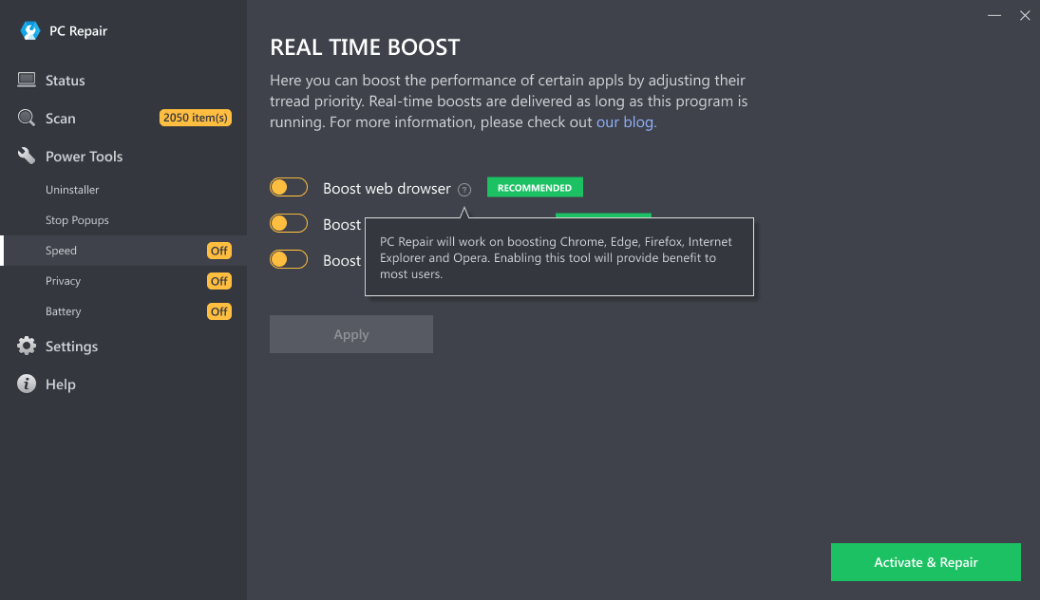
The following steps should resolve the secure-boot-unsupported issue:
- Step 1. Download Outbyte PC Repair application See more information about Outbyte; uninstall instructions; EULA; Privacy Policy.
- Step 2. Install and launch the application
- Step 3. Click the Scan Now button to detect issues and abnormalities
- Step 4. Click the Repair All button to resolve the issues
| Compatibility | Win 11, 10, 8 |
| Download Size | 28 MB |
| Requirements | 300 MHz Processor, 256 MB RAM, 101 MB disk space |
Limitations: The trial version offers unlimited scans, backups, and restores. Full version registration starts at $29.95.

Outbyte PC Repair (version 1.1.12.641) is certified by AppEsteem – a trusted cybersecurity organization – with ongoing monitoring.
Being able to meet all of AppEsteem’s strict requirements means that Outbyte PC Repair can be considered clean, safe, and transparent; and that it is compliant with the ethical and legal norms of distribution.
AppEsteem is one of the world’s most prominent cybersecurity organizations that contributes to the safety of more than 2 billion users. The company was founded by a team of experienced Microsoft cybersecurity specialists. Its mission is to create a safe space for computer and internet users where they are protected against cyber threats and deceptive or unethical practices.