How To Fix Photoshop Scratch Disk Full in Windows
How To Fix Photoshop Scratch Disk Full in Windows
When you encounter the "Photoshop scratch disk full" issue, it means that Adobe Photoshop has run out of the temporary storage space it needs to function properly. Think of the scratch disk as Photoshop's "workbench" – it's a designated area on your hard drive where the program temporarily stores data while you're working on projects, such as editing large images, applying complex filters, or working with multiple layers. When this workspace becomes completely filled, Photoshop can no longer perform these operations and displays this issue message to alert you.
This issue typically occurs when you're working with particularly large files, have many applications open simultaneously, or have been using Photoshop extensively without closing and reopening the program. It can affect all versions of Windows, including Windows 10 and Windows 11, and while it doesn't harm your computer's overall functionality, it does prevent you from continuing your work in Photoshop until resolved. You might notice performance slowdowns or inability to save files when this issue appears. The good news is that this is a common issue with straightforward solutions that don't require advanced technical knowledge. By following some simple steps to clear space or redirect Photoshop's temporary storage, you can quickly return to your creative work without losing any progress on your current project.
PREPARATION STEPS
Before addressing the Photoshop scratch disk issue, complete these preparatory measures to ensure system safety and data integrity.
1. Create a System Restore Point
- Open Start Menu, type "Create a restore point," and select the result.
- In System Properties, click "Create," name it "Pre-Photoshop Resolve," and confirm.
- Purpose: Allows safe rollback of system changes if modifications cause instability.
2. Back Up Critical Data
- Copy active Photoshop projects, PSD files, and important documents to an external drive or cloud storage.
- Purpose: Prevents potential data loss during troubleshooting or disk cleanup operations.
3. Temporarily Disable Antivirus Protection
- Right-click your antivirus icon in the system tray and select "Disable protection" for 15-30 minutes.
- Purpose: Eliminates interference with file operations or permission changes during the resolve process.
4. Close All Adobe Applications
- Use Task Manager (Ctrl+Shift+Esc) to ensure Photoshop, Bridge, and other Adobe apps are fully closed.
- Purpose: Prevents file lock conflicts when modifying scratch disk settings or clearing cache files.
STEP-BY-STEP FIXES
Solution 1: Clear Photoshop Cache Files
1. Close Photoshop completely via Task Manager.
2. Navigate to the temporary files location:
   ```
   %AppData%\Adobe\Adobe Photoshop [Version]\Adobe Photoshop [Version] Settings\
   ```
3. Delete all files in the "PSAutoRecover" and "Cache" folders.
4. Empty Recycle Bin and restart Photoshop.
Solution 2: Modify Scratch Disk Preferences
1. Open Photoshop while holding Ctrl+Alt+Shift.
2. Click "Yes" when prompted to delete settings file.
3. Go to Edit > Preferences > Scratch Disks (Photoshop > Preferences > Scratch Disks on Mac).
4. Select a different drive with sufficient free space (minimum 20GB recommended).
5. Restart Photoshop and verify issue resolution.
Solution 3: Increase Virtual Memory Allocation
1. Press Windows Key + R, type `systempropertiesadvanced`, press Enter.
2. Under Performance, click "Settings," then navigate to Advanced tab.
3. Click "Change" under Virtual memory, uncheck "Automatically manage."
4. Select system drive, choose "Custom size," set:
   ```
   Initial size: [Current RAM x 1.5] MB
   Maximum size: [Current RAM x 3] MB
   ```
5. Click "Set," then "OK," and restart your computer.
Warning: Registry modifications can cause system instability. Create a backup before proceeding with advanced changes.
ADVANCED SOLUTION OPTION
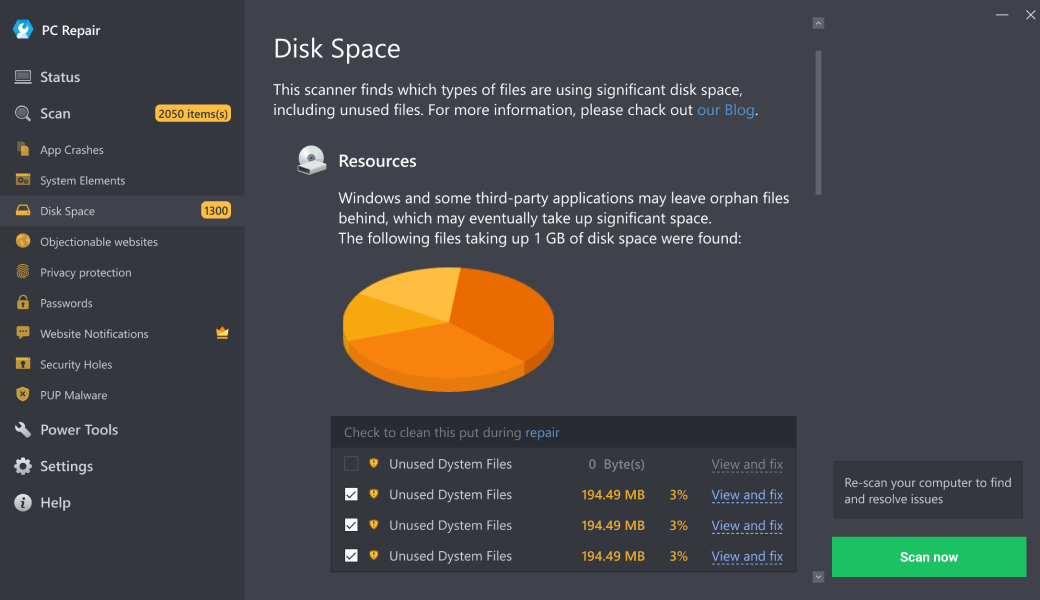
For persistent scratch disk issues or when manual troubleshooting proves time-consuming, automated repair tools provide a systematic approach to resolving underlying system issues. Outbyte PC Repair offers comprehensive scanning that addresses registry issues, temporary file accumulation, and system configuration conflicts that may contribute to disk allocation problems. Its maintenance features optimize storage allocation and clear redundant system cache, providing a consolidated solution for both the immediate issue and potential contributing factors. This approach is particularly valuable for users requiring efficient resolution without extensive technical involvement, while maintaining overall system health through structured cleanup and optimization processes.
Download Outbyte PC Repair for automated issue diagnosis and repair (compatible with Windows 8/10/11).Special offer. See more information about Outbyte; uninstall instructions; EULA; Privacy Policy.
MAIN CAUSES
1. Insufficient Primary Drive Space
The scratch disk functions as Photoshop's virtual memory, requiring substantial free space on your designated drive. When available space drops below the application's operational threshold (typically 10-15% of total capacity), Photoshop cannot allocate temporary files needed for current operations, triggering the issue.
2. Multiple Large Files in Active Use
Working with numerous high-resolution images, complex layered compositions, or memory-intensive filters simultaneously exponentially increases scratch disk requirements. Each open document and applied adjustment creates temporary data that accumulates rapidly in the scratch disk allocation.
3. Incorrect Scratch Disk Prioritization
Photoshop allows configuration of multiple scratch disks with priority levels. If your primary scratch disk is set to a drive with limited capacity while larger available drives are assigned lower priority or excluded entirely, the system will attempt to use inadequate space despite better alternatives being available.
4. Accumulated Temporary File Buildup
Previous Photoshop sessions may have left orphaned temporary files in the scratch disk location. These .tmp files and cache data persist between sessions, gradually consuming available space without being automatically purged by the system or application.
5. System Memory (RAM) Limitations
When your physical RAM becomes saturated during intensive Photoshop operations, the application increasingly relies on scratch disk space as virtual memory extension. Inadequate RAM forces excessive scratch disk usage, accelerating space depletion.
6. Drive Fragmentation and Performance Issues
While modern SSDs experience minimal fragmentation, traditional hard drives with fragmented free space can create allocation challenges for large contiguous scratch disk files. Additionally, slow drive read/write speeds can create bottlenecks that manifest as space allocation issues.
7. Photoshop Cache Settings Miscalibration
The application's cache levels and tile sizes (found in Performance Preferences) directly impact scratch disk usage patterns. Overly aggressive cache settings for your typical workload can generate disproportionately large temporary files that overwhelm available scratch disk capacity.
CONCLUSION
The "scratch disk full" issue in Photoshop represents more than a temporary inconvenience—it indicates fundamental system resource management issues that require proactive attention. Regular maintenance of your computing environment ensures not only resolution of current issues but prevention of future disruptions to your creative workflow. Begin by implementing consistent storage management practices, including routine deletion of unnecessary files and temporary data. Monitor your primary drives to maintain at least 20-25% free space, as this buffer accommodates both system operations and application requirements.
Establish a systematic approach to Photoshop's performance configuration by periodically reviewing scratch disk assignments in Preferences > Scratch Disks. Ensure your fastest drive with maximum available space receives top priority, and consider adding secondary locations if you regularly work with memory-intensive projects. Complement this with regular purging of Photoshop's cache files through Edit > Purge > All, particularly after completing large projects. For comprehensive system optimization, maintenance tools like Outbyte PC Repair can automate many cleanup processes, removing temporary files, correcting registry issues, and managing startup items that consume background resources.
Beyond application-specific solutions, maintain your system's overall health through regular disk cleanup procedures, defragmentation of mechanical hard drives (unnecessary for SSDs), and monitoring of background processes that may be consuming resources needed for creative work. Update Photoshop regularly to benefit from performance enhancements and bug resolves Adobe implements in newer versions. When these measures prove insufficient, or if the issue persists despite adequate drive space, consider consulting with IT professionals who can diagnose potential hardware issues or deeper system conflicts. Remember that reliable system performance forms the foundation of productive creative work—investing time in maintenance ultimately preserves more time for creation.
| Trial limitation: | Category-based repair access for at least 2 days |
| Price (full version): | From $29.95 |
The following steps should resolve the photoshop-scratch-disk-full issue:
- Step 1. Download Outbyte PC Repair application See more information about Outbyte; uninstall instructions; EULA; Privacy Policy.
- Step 2. Install and launch the application
- Step 3. Click the Scan Now button to detect issues and abnormalities
- Step 4. Click the Repair All button to resolve the issues
| Compatibility | Win 11, 10, 8 |
| Download Size | 28 MB |
| Requirements | 300 MHz Processor, 256 MB RAM, 101 MB disk space |
Limitations: The trial version offers unlimited scans, backups, and restores. Full version registration starts at $29.95.

Outbyte PC Repair (version 1.1.12.641) is certified by AppEsteem – a trusted cybersecurity organization – with ongoing monitoring.
Being able to meet all of AppEsteem’s strict requirements means that Outbyte PC Repair can be considered clean, safe, and transparent; and that it is compliant with the ethical and legal norms of distribution.
AppEsteem is one of the world’s most prominent cybersecurity organizations that contributes to the safety of more than 2 billion users. The company was founded by a team of experienced Microsoft cybersecurity specialists. Its mission is to create a safe space for computer and internet users where they are protected against cyber threats and deceptive or unethical practices.