How To Fix hp printer e4 issue in Windows
How To Fix hp printer e4 issue in Windows
If you're encountering the HP Printer E4 issue, you're likely experiencing a paper jam or feeding issue that's preventing your printer from functioning properly. This common issue typically occurs when paper becomes stuck in the printer's mechanism, when there's an obstruction in the paper path, or when the paper isn't loaded correctly in the tray. The E4 issue can appear on various HP printer models and affects users across all Windows versions, including Windows 10 and Windows 11.
When this issue occurs, your printer will usually stop all printing operations and display the E4 issue code on its control panel or screen. While your computer itself will continue to function normally, you won't be able to print documents, photos, or any other materials until the issue is resolved. In some cases, you might also see related issue messages on your computer screen, though the E4 code is primarily displayed on the printer itself.
The good news is that the HP Printer E4 issue is typically straightforward to resolve with some basic troubleshooting steps. This issue doesn't indicate a serious hardware failure in most situations, but rather a mechanical issue that can be cleared with careful attention. In this guide, we'll walk you through the essential steps to identify and clear paper jams, properly reload paper, and ensure your printer returns to normal operation without causing any damage to the device.
PREPARATION STEPS
Before addressing the HP Printer E4 issue, please complete these preparatory measures to ensure system stability and data safety:
1. Create a System Restore Point
- Open the Start Menu, type "Create a restore point," and select the corresponding Control Panel option.
- In the System Properties window, click "Create," name the restore point (e.g., "Pre-HP E4 Resolve"), and confirm.
- Purpose: Allows you to revert system changes if modifications cause unintended issues.
2. Back Up Important Data
- Copy critical documents, printer settings, and driver files to an external drive or cloud storage.
- Purpose: Safeguards against data loss during troubleshooting or driver reinstallation.
3. Temporarily Disable Antivirus/Firewall
- Open your antivirus software’s dashboard, locate "Real-Time Protection" or "Shield," and disable it temporarily.
- Purpose: Prevents interference with driver installation or communication between the printer and computer.
4. Check Printer Hardware Connections
- Ensure the printer is powered on, paper is loaded correctly, and no paper jams are present. Verify USB or network connections are secure.
- Purpose: Confirms the issue is not due to simple physical issues before proceeding with software resolves.
STEP-BY-STEP FIXES
Try these manual solutions in sequence to resolve the HP Printer E4 issue:
Method 1: Clear Paper Jams and Reset Printer
1. Turn off the printer and unplug it from power.
2. Open all access panels (input/output trays, rear covers) and carefully remove any stuck paper or debris.
3. Check for torn paper fragments inside rollers or feed paths; use a flashlight if needed.
4. Plug the printer back in, turn it on, and allow it to initialize. If the issue persists, proceed to Solution 2.
Method 2: Update or Reinstall Printer Drivers
1. Press `Win + X` and select "Device Manager."
2. Expand "Print queues," right-click your HP printer, and select "Uninstall device." Check "Delete the driver software" if prompted.
3. Download the latest driver from HP’s official support site using your printer model number.
4. Run the installer as Administrator and follow on-screen instructions to reinstall.
5. Restart your computer and test printing.
Method 3: Run HP Print and Scan Doctor
1. Download "HP Print and Scan Doctor" from HP’s official website.
2. Launch the tool and select your printer from the detected devices list.
3. Click "Fix Printing" or "Resolve" to allow the tool to diagnose and repair common issues automatically.
4. Follow any additional prompts to reset spooler services or clear print queues.
5. Restart both the printer and computer, then attempt a test print.
ADVANCED SOLUTION OPTION
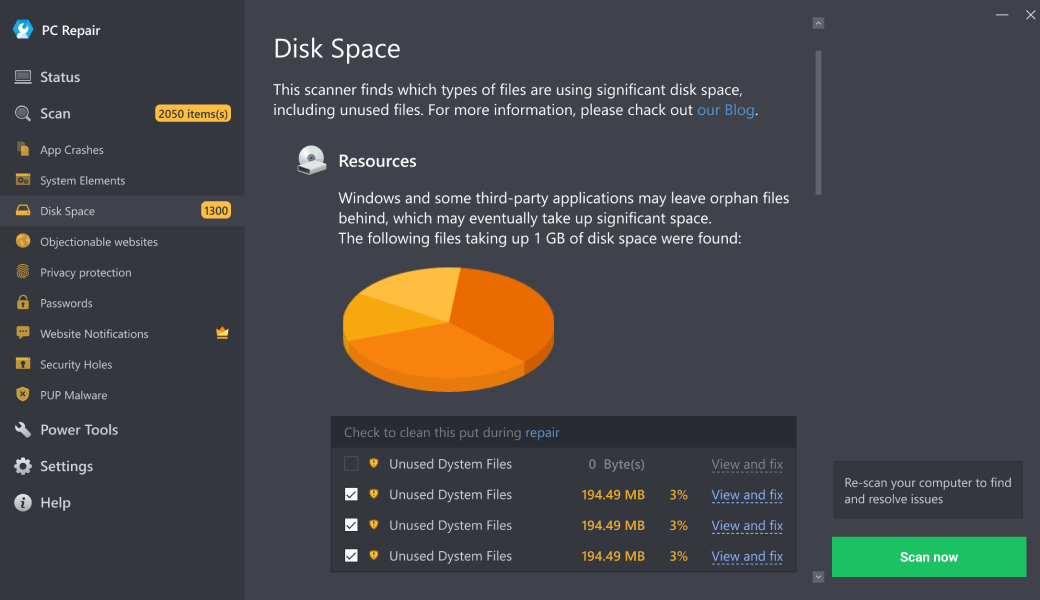
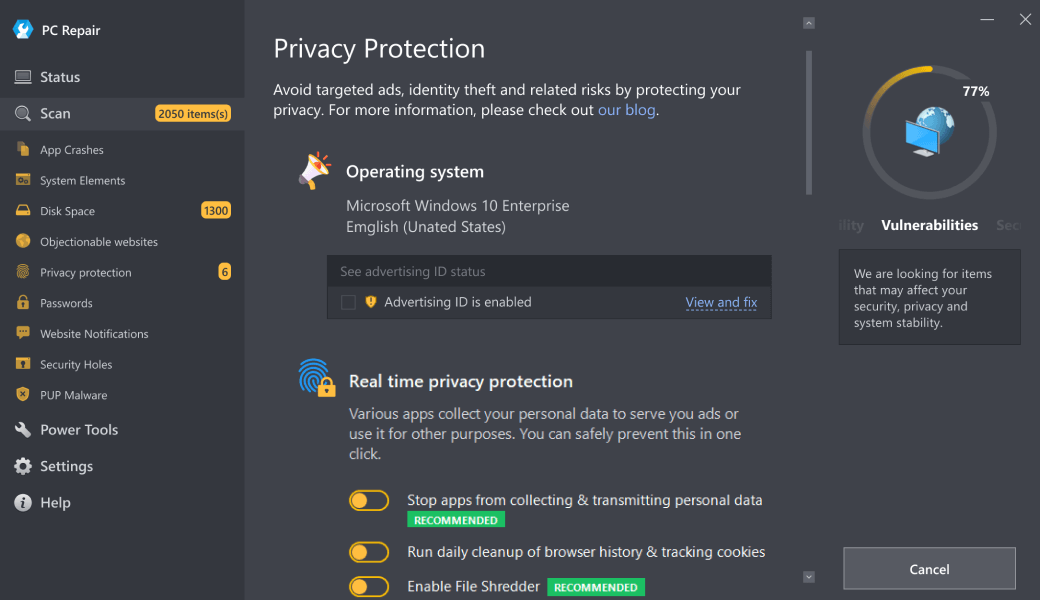
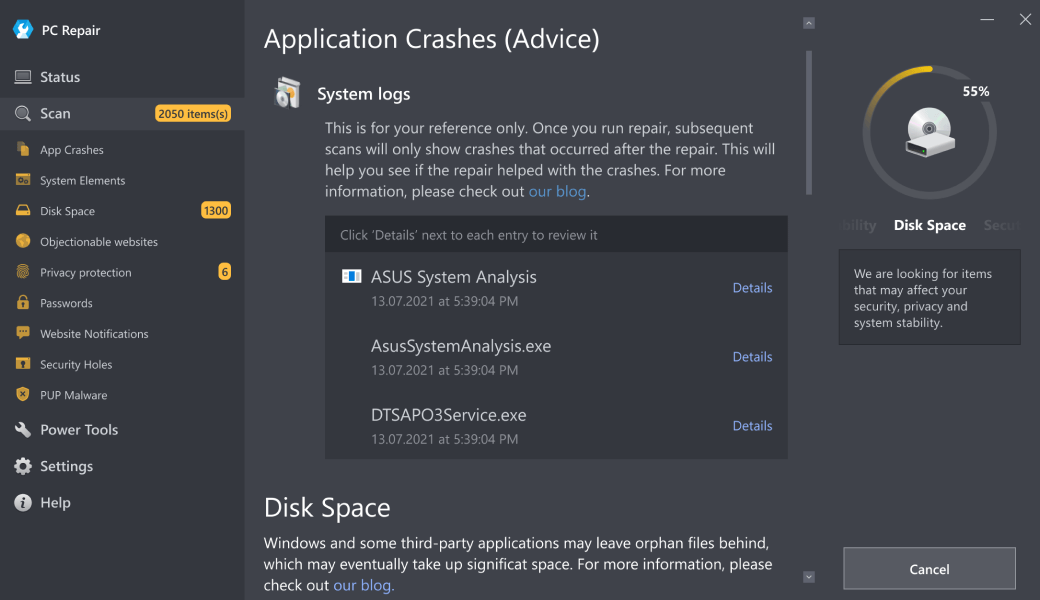
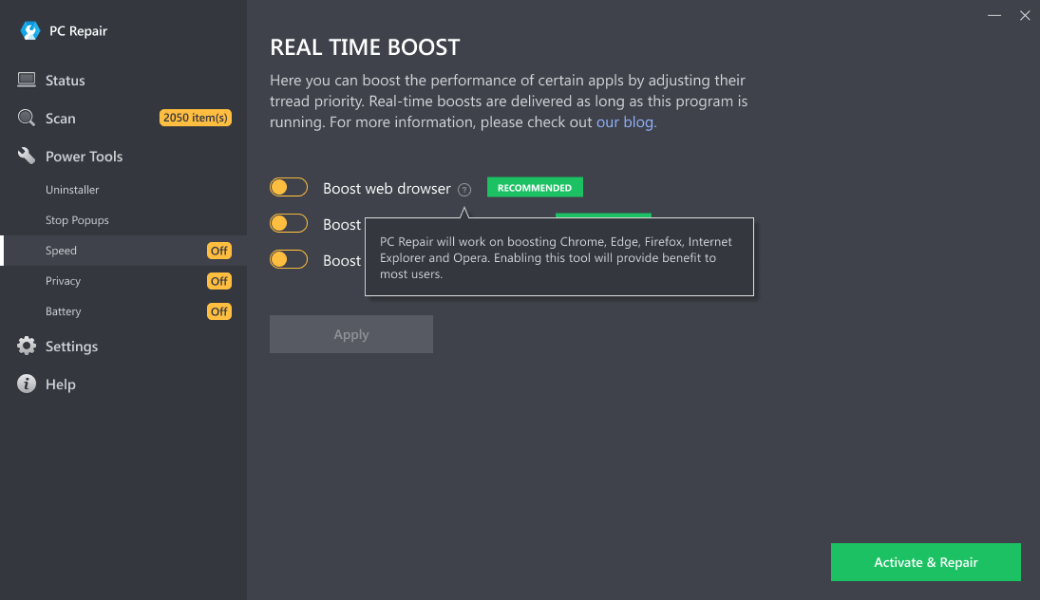
For users encountering persistent or complex system-related printer issues—such as recurring driver conflicts, spooler failures, or registry corruption—an automated repair tool can provide a time-efficient resolution. Outbyte PC Repair is a professional utility designed to address such issues systematically; it performs deep system scans to identify and resolve issues affecting hardware communication, optimizes performance by cleaning redundant files and registry entries, and helps maintain overall system health without requiring manual intervention. This approach is particularly useful when standard troubleshooting fails or when you need a comprehensive maintenance solution that ensures both printer functionality and system stability are restored efficiently.
Download Outbyte PC Repair for automated issue diagnosis and repair (compatible with Windows 8/10/11).Special offer. See more information about Outbyte; uninstall instructions; EULA; Privacy Policy.
Of course. Here is a detailed breakdown of the causes and a professional conclusion for the HP Printer E4 issue.
MAIN CAUSES OF HP PRINTER E4 ERROR
The HP "E4" issue code universally indicates a paper jam or a paper feed issue. The printer's sensors have detected that paper is not moving through the paper path as expected. This can occur at various stages of the printing process, and the root cause isn't always a simple, visible piece of stuck paper.
1. Obvious Paper Jam: The most common cause is a physical piece of paper that has become stuck, torn, or misaligned inside the printer. This can happen in the main paper tray input area, the duplex unit (for double-sided printing), or the output rollers. Even a small, barely visible piece of torn paper can obstruct the sensors and trigger the E4 issue.
2. Obstructed or Dirty Paper Pickup Rollers: The rubberized pickup rollers are responsible for grabbing the top sheet of paper from the tray and feeding it into the printer. Over time, these rollers can become glazed with dust, paper residue, and oils from your hands, losing their grip. When they slip instead of grabbing the paper, the printer interprets this as a jam because no paper is detected moving forward.
3. Faulty or Obstructed Paper Path Sensors: Modern printers have multiple optical or mechanical sensors along the paper path to track a sheet's progress. If one of these sensors is stuck in the "on" or "blocked" position—either by a tiny piece of debris, a paper fragment, or a spider web—the printer will persistently believe there is a jam, even if the path is clear.
4. Incorrect Paper Settings or Media Type: Using paper that is too heavy, too light, too glossy, or of a non-standard size can cause feed problems. If the printer driver is configured for "Plain Paper" but you have loaded thick cardstock, the rollers may not have enough torque to move it, causing a jam and the E4 issue. Similarly, overfilling the paper tray beyond its capacity can lead to multiple sheets feeding at once.
5. Worn or Damaged Internal Components: With extensive use, mechanical parts can wear out or break. This includes the separation pad (which helps ensure only one sheet feeds at a time), the main drive gears, or the rollers themselves. A cracked gear or a worn-down roller will fail to move paper correctly, leading to consistent jamming.
6. Obstruction from Foreign Objects: Occasionally, non-paper items can find their way into the printer, such as staples, paper clips, bits of tape, or even stationary insects. These objects can physically block the paper path or interfere with moving parts, causing an immediate jam and triggering the issue.
CONCLUSION
Resolving an HP E4 issue requires a methodical approach, starting with the simplest and most common solutions before progressing to more complex troubleshooting. Always begin by turning the printer off and disconnecting it from power for a minute. This action resets the printer's internal memory and can clear transient issue states. Then, perform a thorough visual and physical inspection of the entire paper path. Open all accessible panels, including the rear cover and duplex unit if your model has one. Use a flashlight to look for any scraps of paper or foreign objects, and carefully remove any you find. Pay close attention to the rubber pickup rollers; cleaning them with a lint-free cloth slightly dampened with distilled water can often restore their grip and resolve the issue.
For persistent problems, ensure you are using supported, high-quality paper that is stored in a cool, dry environment to prevent moisture absorption, which can cause pages to stick together. Verify that the paper guides in the input tray are snug against the stack of paper to ensure proper alignment. It is also prudent to check for and install any pending firmware updates for your printer model through the HP Smart application or the HP Support website, as these updates can include resolves for known mechanical control issues.
While printer maintenance is specific to the hardware, maintaining the health of the computer driving the printer is equally critical for a seamless workflow. A stable and optimized PC prevents software-related print spooler issues that can sometimes manifest as hardware problems. To ensure your system's reliability, adopt a proactive maintenance routine. This includes regularly running disk cleanup utilities to remove temporary files, using built-in system scanners like `sfc /scannow` in the Command Prompt to repair system file corruption, and defragmenting your hard drive (if using an HDD). Keeping your operating system and all device drivers updated is paramount for security and compatibility.
For users seeking a more automated and comprehensive approach to PC maintenance, dedicated software tools like Outbyte PC Repair can be a valuable option. Such utilities are designed to streamline the maintenance process by automatically identifying and resolving common system issues, cleaning redundant files, and managing startup programs, which contributes to overall system stability. However, if you have diligently performed all physical checks on your printer and the E4 issue persists, it is a strong indicator of a potential hardware failure in internal components like a faulty motor or sensor. At this stage, consulting HP's official support or a certified technician is the recommended course of action to avoid causing further damage. A reliable printing environment is foundational to both home and office productivity, and addressing these issues promptly ensures your equipment remains a dependable tool.
| Trial limitation: | Category-based repair access for at least 2 days |
| Price (full version): | From $29.95 |
The following steps should resolve the hp-printer-e4-error issue:
- Step 1. Download Outbyte PC Repair application See more information about Outbyte; uninstall instructions; EULA; Privacy Policy.
- Step 2. Install and launch the application
- Step 3. Click the Scan Now button to detect issues and abnormalities
- Step 4. Click the Repair All button to resolve the issues
| Compatibility | Win 11, 10, 8 |
| Download Size | 28 MB |
| Requirements | 300 MHz Processor, 256 MB RAM, 101 MB disk space |
Limitations: The trial version offers unlimited scans, backups, and restores. Full version registration starts at $29.95.

Outbyte PC Repair (version 1.1.12.641) is certified by AppEsteem – a trusted cybersecurity organization – with ongoing monitoring.
Being able to meet all of AppEsteem’s strict requirements means that Outbyte PC Repair can be considered clean, safe, and transparent; and that it is compliant with the ethical and legal norms of distribution.
AppEsteem is one of the world’s most prominent cybersecurity organizations that contributes to the safety of more than 2 billion users. The company was founded by a team of experienced Microsoft cybersecurity specialists. Its mission is to create a safe space for computer and internet users where they are protected against cyber threats and deceptive or unethical practices.