How To Fix how to increase memory on pc in Windows
How To Fix how to increase memory on pc in Windows
When you encounter the "how to increase memory on pc" issue in Windows, it typically indicates that your computer is running low on available RAM (Random Access Memory), which can significantly impact system performance. This issue message often appears when your system struggles to handle multiple applications simultaneously or when running memory-intensive programs like video editing software, games, or complex spreadsheets. The issue manifests through noticeable symptoms including slow system responsiveness, frequent program crashes, freezing screens, and issue messages warning about low memory.
This memory limitation problem affects all versions of Windows, from Windows 7 through Windows 11, though the specific issue messages and available solutions may vary slightly between operating systems. The impact on your computer's functionality can be substantial - you might experience delayed response times when switching between applications, inability to open new programs despite having storage space available, and overall system instability that interrupts your workflow.
Fortunately, this common Windows issue is highly resolvable through several straightforward approaches. The solution doesn't necessarily require purchasing additional physical RAM, as there are multiple software-based methods to optimize your current memory usage. Windows includes built-in tools and settings that can help manage memory more efficiently, clear unnecessary memory usage, and adjust virtual memory settings to compensate for physical RAM limitations. By following systematic troubleshooting steps, you can restore your computer's performance and prevent future memory-related issues from disrupting your computing experience.
Contents
[hide]PREPARATION STEPS
Before attempting to increase your PC's memory, it is essential to take these preparatory measures to ensure system stability and data safety.
1. Create a System Restore Point
- Press `Windows + S`, type "Create a restore point," and select the result.
- In the System Properties window, click "Create," name the restore point (e.g., "Pre-Memory-Increase"), and confirm.
- Purpose: Allows you to revert system changes if issues arise during the process.
2. Back Up Important Data
- Copy critical files, documents, and settings to an external drive or cloud service.
- Use built-in tools like File History or third-party backup software for comprehensive coverage.
- Purpose: Protects against accidental data loss due to configuration issues or hardware changes.
3. Temporarily Disable Antivirus and Security Software
- Open your antivirus software from the system tray or Start menu, and use the "Disable" or "Pause Protection" option (usually for 15–30 minutes).
- Purpose: Prevents interference with system tools or installations that may be flagged incorrectly.
4. Check Current Memory Usage and Hardware Compatibility
- Press `Ctrl + Shift + Esc` to open Task Manager, go to the Performance tab, and note current memory usage and available slots.
- Consult your PC/motherboard manual or use tools like Crucial System Scanner to verify compatible RAM type and maximum capacity.
- Purpose: Ensures any physical or software-based memory adjustments are feasible and appropriate for your system.
STEP-BY-STEP FIXES
Here are three manual solutions to effectively increase usable memory on your PC.
Method 1: Adjust Virtual Memory (Page File) Settings
1. Press `Windows + Pause/Break` to open System settings, then click "Advanced system settings."
2. Under the Advanced tab, click "Settings" in the Performance section.
3. Go to the Advanced tab again, click "Change..." under Virtual memory.
4. Uncheck "Automatically manage paging file size for all drives."
5. Select your system drive, choose "Custom size," and set:
- Initial size (MB): `1.5 × your RAM size in MB`
- Maximum size (MB): `3 × your RAM size in MB`
6. Click "Set," then "OK," and restart your PC.
- Warning: Setting values too low may cause system instability; avoid disabling the page file entirely.
Method 2: Use Windows Memory Diagnostic Tool
1. Press `Windows + R`, type `mdsched.exe`, and press Enter.
2. Choose "Restart now and check for problems."
3. Allow the tool to run—it will automatically restart your PC and scan for memory issues.
4. After reboot, check the Event Viewer for results:
- Press `Windows + R`, type `eventvwr.msc`, go to Windows Logs > System, and look for "MemoryDiagnostics-Results."
5. If issues are found, consider replacing faulty RAM modules.
- Warning: This does not increase memory but ensures existing RAM is functioning optimally before upgrades.
Method 3: Enable ReadyBoost (For Systems with USB Drive)
1. Insert a USB flash drive (8 GB or larger, USB 3.0 recommended) into your PC.
2. Open File Explorer, right-click the USB drive, and select "Properties."
3. Go to the ReadyBoost tab and select "Use this device."
4. Adjust the slider to reserve space for boosting system speed (recommended: full capacity).
5. Click "Apply," then "OK."
6. Restart your PC for changes to take effect.
- Note: ReadyBoost uses flash storage as cache—helpful if upgrading physical RAM isn't immediate.
ADVANCED SOLUTION OPTION
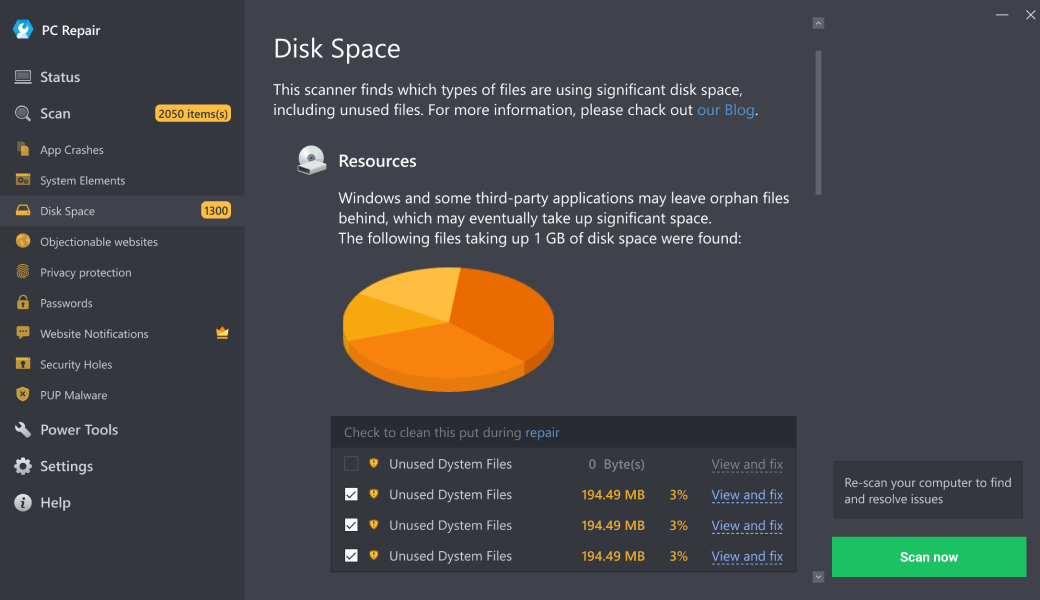
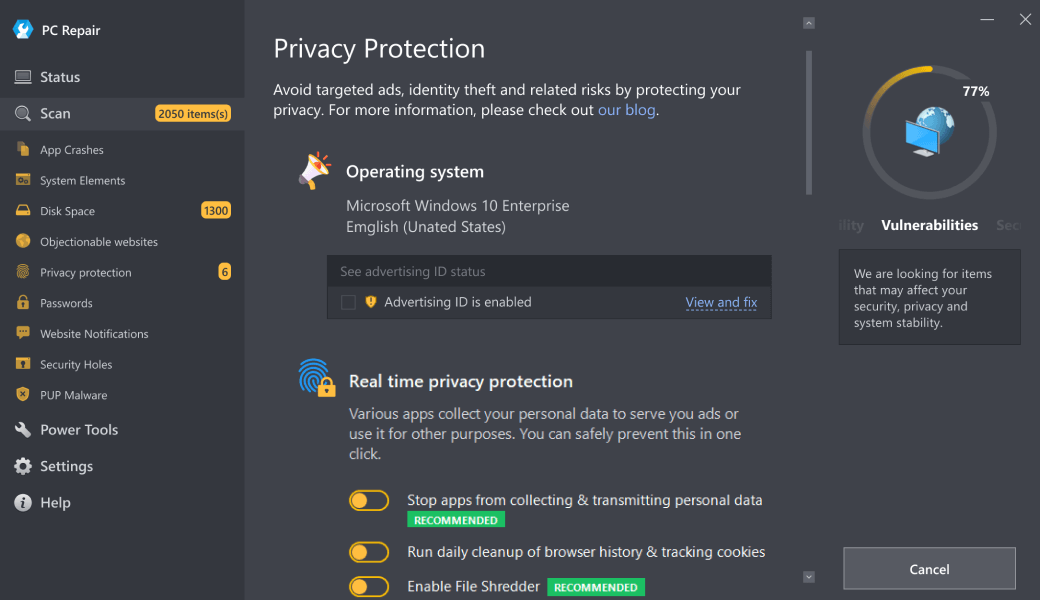
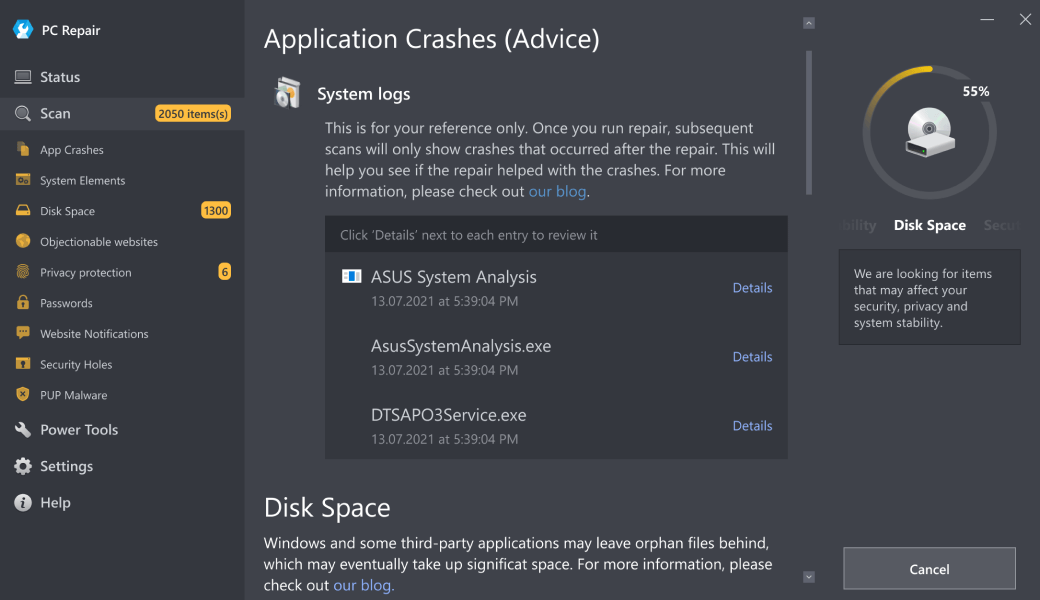
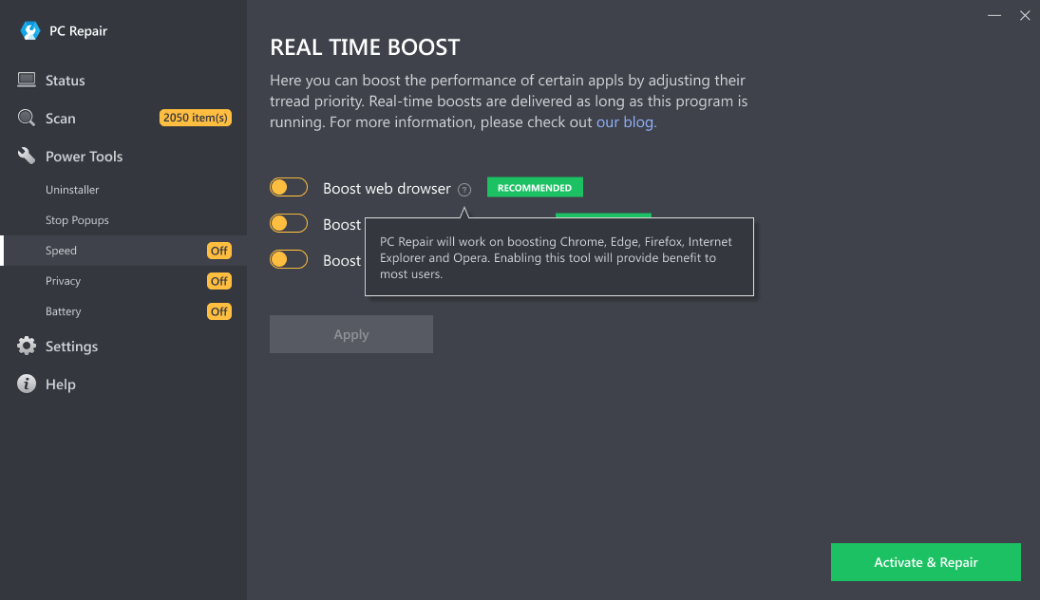
For users facing complex system performance issues or seeking a time-efficient approach to memory optimization, automated repair tools offer a reliable alternative to manual troubleshooting. Outbyte PC Repair is a professional-grade utility designed to address underlying system issues, optimize memory usage, and enhance overall PC performance through comprehensive scanning and repair features. It automatically resolves registry issues, cleans redundant files, and manages startup items—complementing efforts to maximize available memory without requiring advanced technical knowledge. This tool is particularly useful when persistent slowdowns or configuration conflicts hinder manual resolves, providing a streamlined solution for maintaining long-term system health and stability.
Download Outbyte PC Repair for automated issue diagnosis and repair (compatible with Windows 8/10/11).Special offer. See more information about Outbyte; uninstall instructions; EULA; Privacy Policy.
MAIN CAUSES
1. Physical RAM Limitations
Your computer has a maximum RAM capacity determined by the motherboard's architecture and chipset specifications. This hardware limitation cannot be overcome through software adjustments. Attempting to install more RAM than the motherboard supports will result in the system failing to recognize the additional memory or experiencing boot failures.
2. Operating System Memory Restrictions
Different Windows versions enforce specific RAM limits. For example, 32-bit Windows editions typically cap at 4GB, while 64-bit versions support significantly higher amounts (128GB-6TB depending on edition). These architectural limitations are inherent to the operating system's memory addressing capabilities.
3. Insufficient Virtual Memory Configuration
Virtual memory uses hard drive space to supplement physical RAM through a page file system. When configured with insufficient virtual memory allocation, the system cannot effectively manage memory-intensive applications, leading to performance degradation and memory-related issues.
4. Memory-Resident Applications and Services
Background processes, startup applications, and system services consume RAM even when not actively used. Multiple applications running simultaneously create cumulative memory pressure, particularly when they remain resident in system memory instead of properly releasing resources when minimized or closed.
5. Memory Leaks in Software Applications
Programming issues in applications or drivers can cause memory leaks, where software fails to release allocated RAM after use. This gradual accumulation of unused memory blocks eventually exhausts available system resources, creating the appearance of insufficient memory despite adequate physical RAM.
6. Outdated or Incompatible Device Drivers
Device drivers manage hardware component communication and memory allocation. Outdated, corrupted, or incompatible drivers can cause memory management conflicts, improper resource allocation, and system instability that manifests as memory-related performance issues.
7. BIOS/UEFI Firmware Limitations
The system's firmware may have outdated memory mapping capabilities or incorrect memory timing configurations. Older BIOS versions might not properly recognize newer RAM modules or may require manual configuration adjustments to utilize installed memory effectively.
CONCLUSION
Maintaining optimal system memory performance requires consistent attention to both hardware capabilities and software management practices. Regular system maintenance is essential for ensuring your computer operates efficiently and reliably for daily computing tasks. Begin by conducting periodic assessments of your memory usage patterns through Windows Task Manager to identify applications consuming excessive resources. This monitoring helps you make informed decisions about necessary upgrades or software adjustments.
Implement practical maintenance routines including regular driver updates, particularly for critical components like chipset and graphics controllers, which significantly impact memory management. Configure your virtual memory settings appropriately, allowing Windows to automatically manage the page file size unless specific application requirements dictate manual configuration. Utilize system cleanup tools to remove temporary files and clear system caches that accumulate over time and consume valuable memory resources. Consider using comprehensive maintenance solutions like Outbyte PC Repair to automate many of these optimization tasks, though always verify any third-party tool's credibility before installation.
For hardware improvements, research your system's maximum supported RAM capacity before purchasing additional modules, ensuring compatibility with your existing configuration. When performance issues persist despite adequate physical memory, investigate potential software conflicts or malware that might be consuming system resources. Establish a schedule for reviewing startup applications and disabling unnecessary background processes that launch automatically with Windows. Remember that seeking professional technical assistance becomes advisable when dealing with hardware installations beyond your comfort level or when troubleshooting complex software conflicts that affect system stability. Consistent proactive maintenance not only resolves immediate memory concerns but also contributes to long-term system reliability, ensuring your computer meets both current and future computing demands effectively.
| Trial limitation: | Category-based repair access for at least 2 days |
| Price (full version): | From $29.95 |
The following steps should resolve the how-to-increase-memory-on-pc issue:
- Step 1. Download Outbyte PC Repair application See more information about Outbyte; uninstall instructions; EULA; Privacy Policy.
- Step 2. Install and launch the application
- Step 3. Click the Scan Now button to detect issues and abnormalities
- Step 4. Click the Repair All button to resolve the issues
| Compatibility | Win 11, 10, 8 |
| Download Size | 28 MB |
| Requirements | 300 MHz Processor, 256 MB RAM, 101 MB disk space |
Limitations: The trial version offers unlimited scans, backups, and restores. Full version registration starts at $29.95.

Outbyte PC Repair (version 1.1.12.641) is certified by AppEsteem – a trusted cybersecurity organization – with ongoing monitoring.
Being able to meet all of AppEsteem’s strict requirements means that Outbyte PC Repair can be considered clean, safe, and transparent; and that it is compliant with the ethical and legal norms of distribution.
AppEsteem is one of the world’s most prominent cybersecurity organizations that contributes to the safety of more than 2 billion users. The company was founded by a team of experienced Microsoft cybersecurity specialists. Its mission is to create a safe space for computer and internet users where they are protected against cyber threats and deceptive or unethical practices.