The following guide is created for users who would like to uninstall Outbyte PC Repair from their system. It describes all the steps necessary for the complete removal of the Outbyte PC Repair program.
Outbyte PC Repair is an application that can be used for different computer optimization tasks. Users might want to uninstall it for several reasons:
- They want to stop using the program after a certain period
- They want to free up space that the program was taking up
- The program was intended to be used only during a free trial
- The program did not turn out to be useful for what they specifically wanted
- Click on Start on your taskbar
- Type “Add or remove programs” and click on the corresponding option
- Search for Outbyte in the search bar and click on Uninstall once you find Outbyte PC Repair

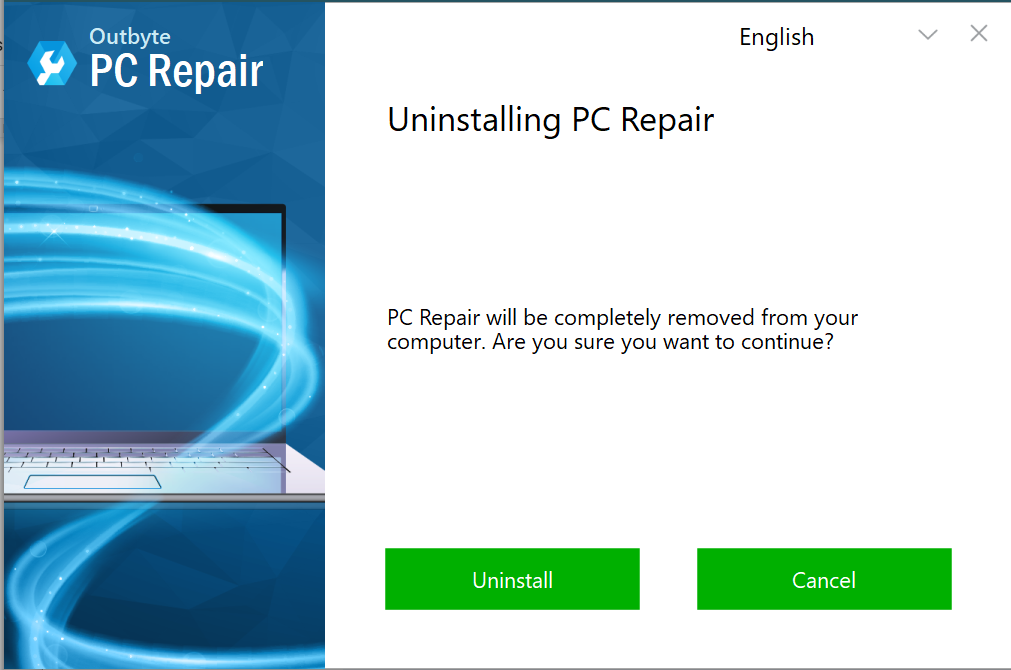
- Below are the instructions for uninstalling Outbyte PC Repair from your computer:

- Click Uninstall to start the uninstallation process
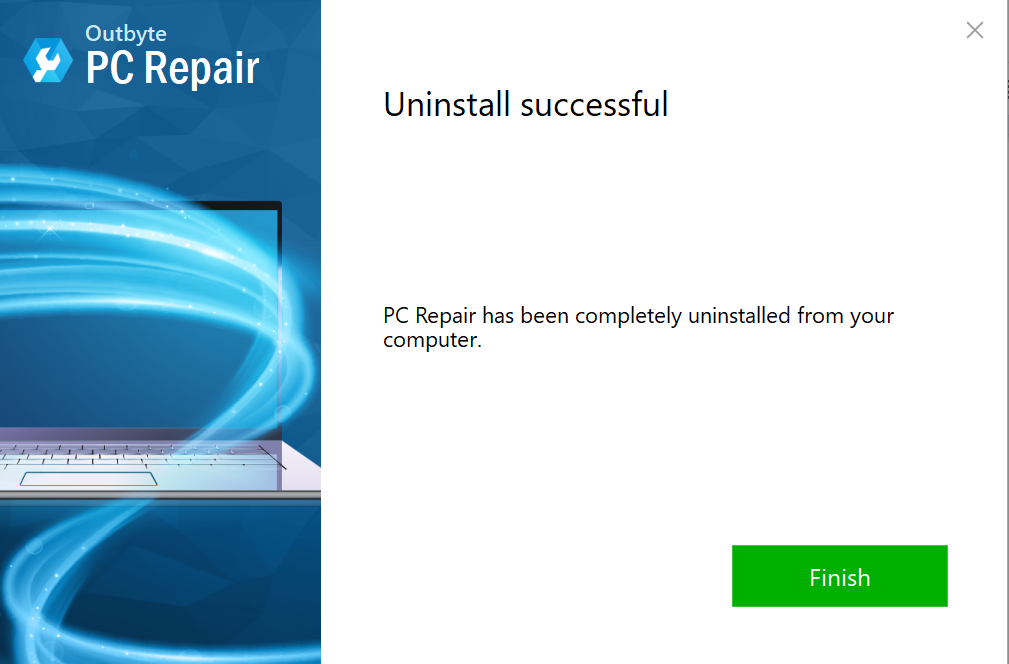
- Once the program has been removed, click Finish


There is also an alternative method of removing Outbyte PC Repair from your computer:
- Press the Start/Windows button on your taskbar
- Type “Control Panel” and click on it once it shows up in the start menu
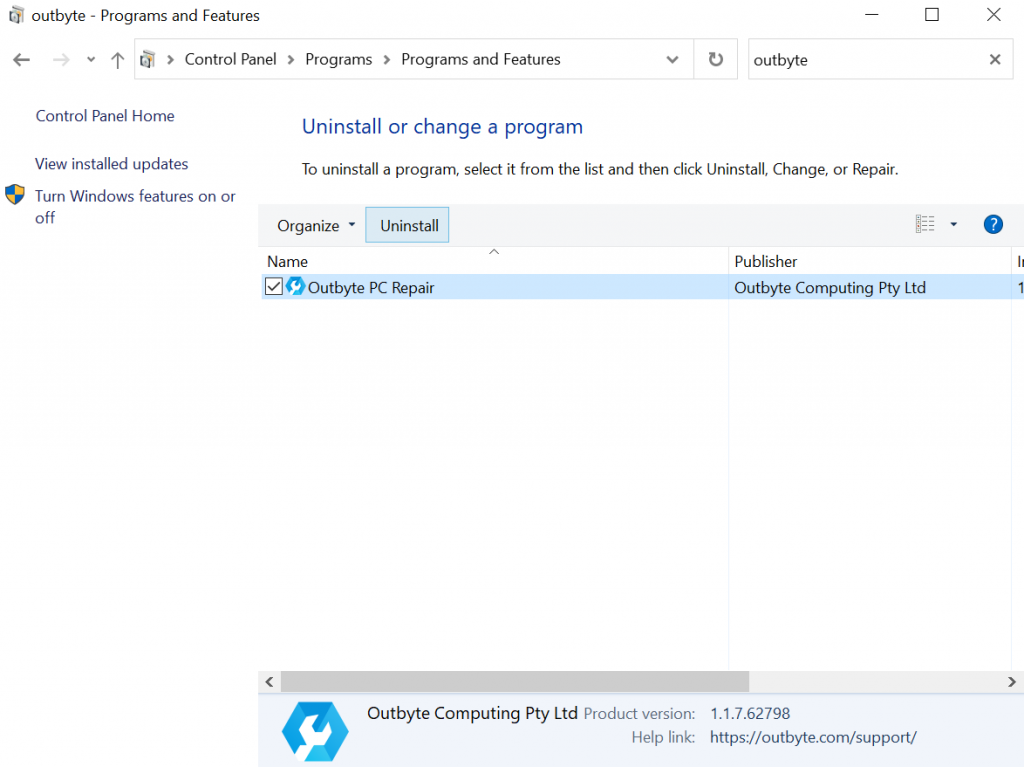
- Within the Control Panel, find the Programs (or Programs and Features) section and click either on this section or Uninstall a program under it
- Find the Outbyte PC Repair app from the list. To find it faster from the list of programs installed on your PC, you can type “outbyte” in the search bar in the upper right corner
- Once you have found Outbyte PC Repair, click on it and choose the Uninstall option from the bar above.

- Follow the removal instructions
Use the instructions provided above to remove Outbyte PC Repair from your computer. If, for some reason, you were not able to uninstall the program by following these steps, please contact us at support@outbyte.com for assistance.